
Notes from the Villa
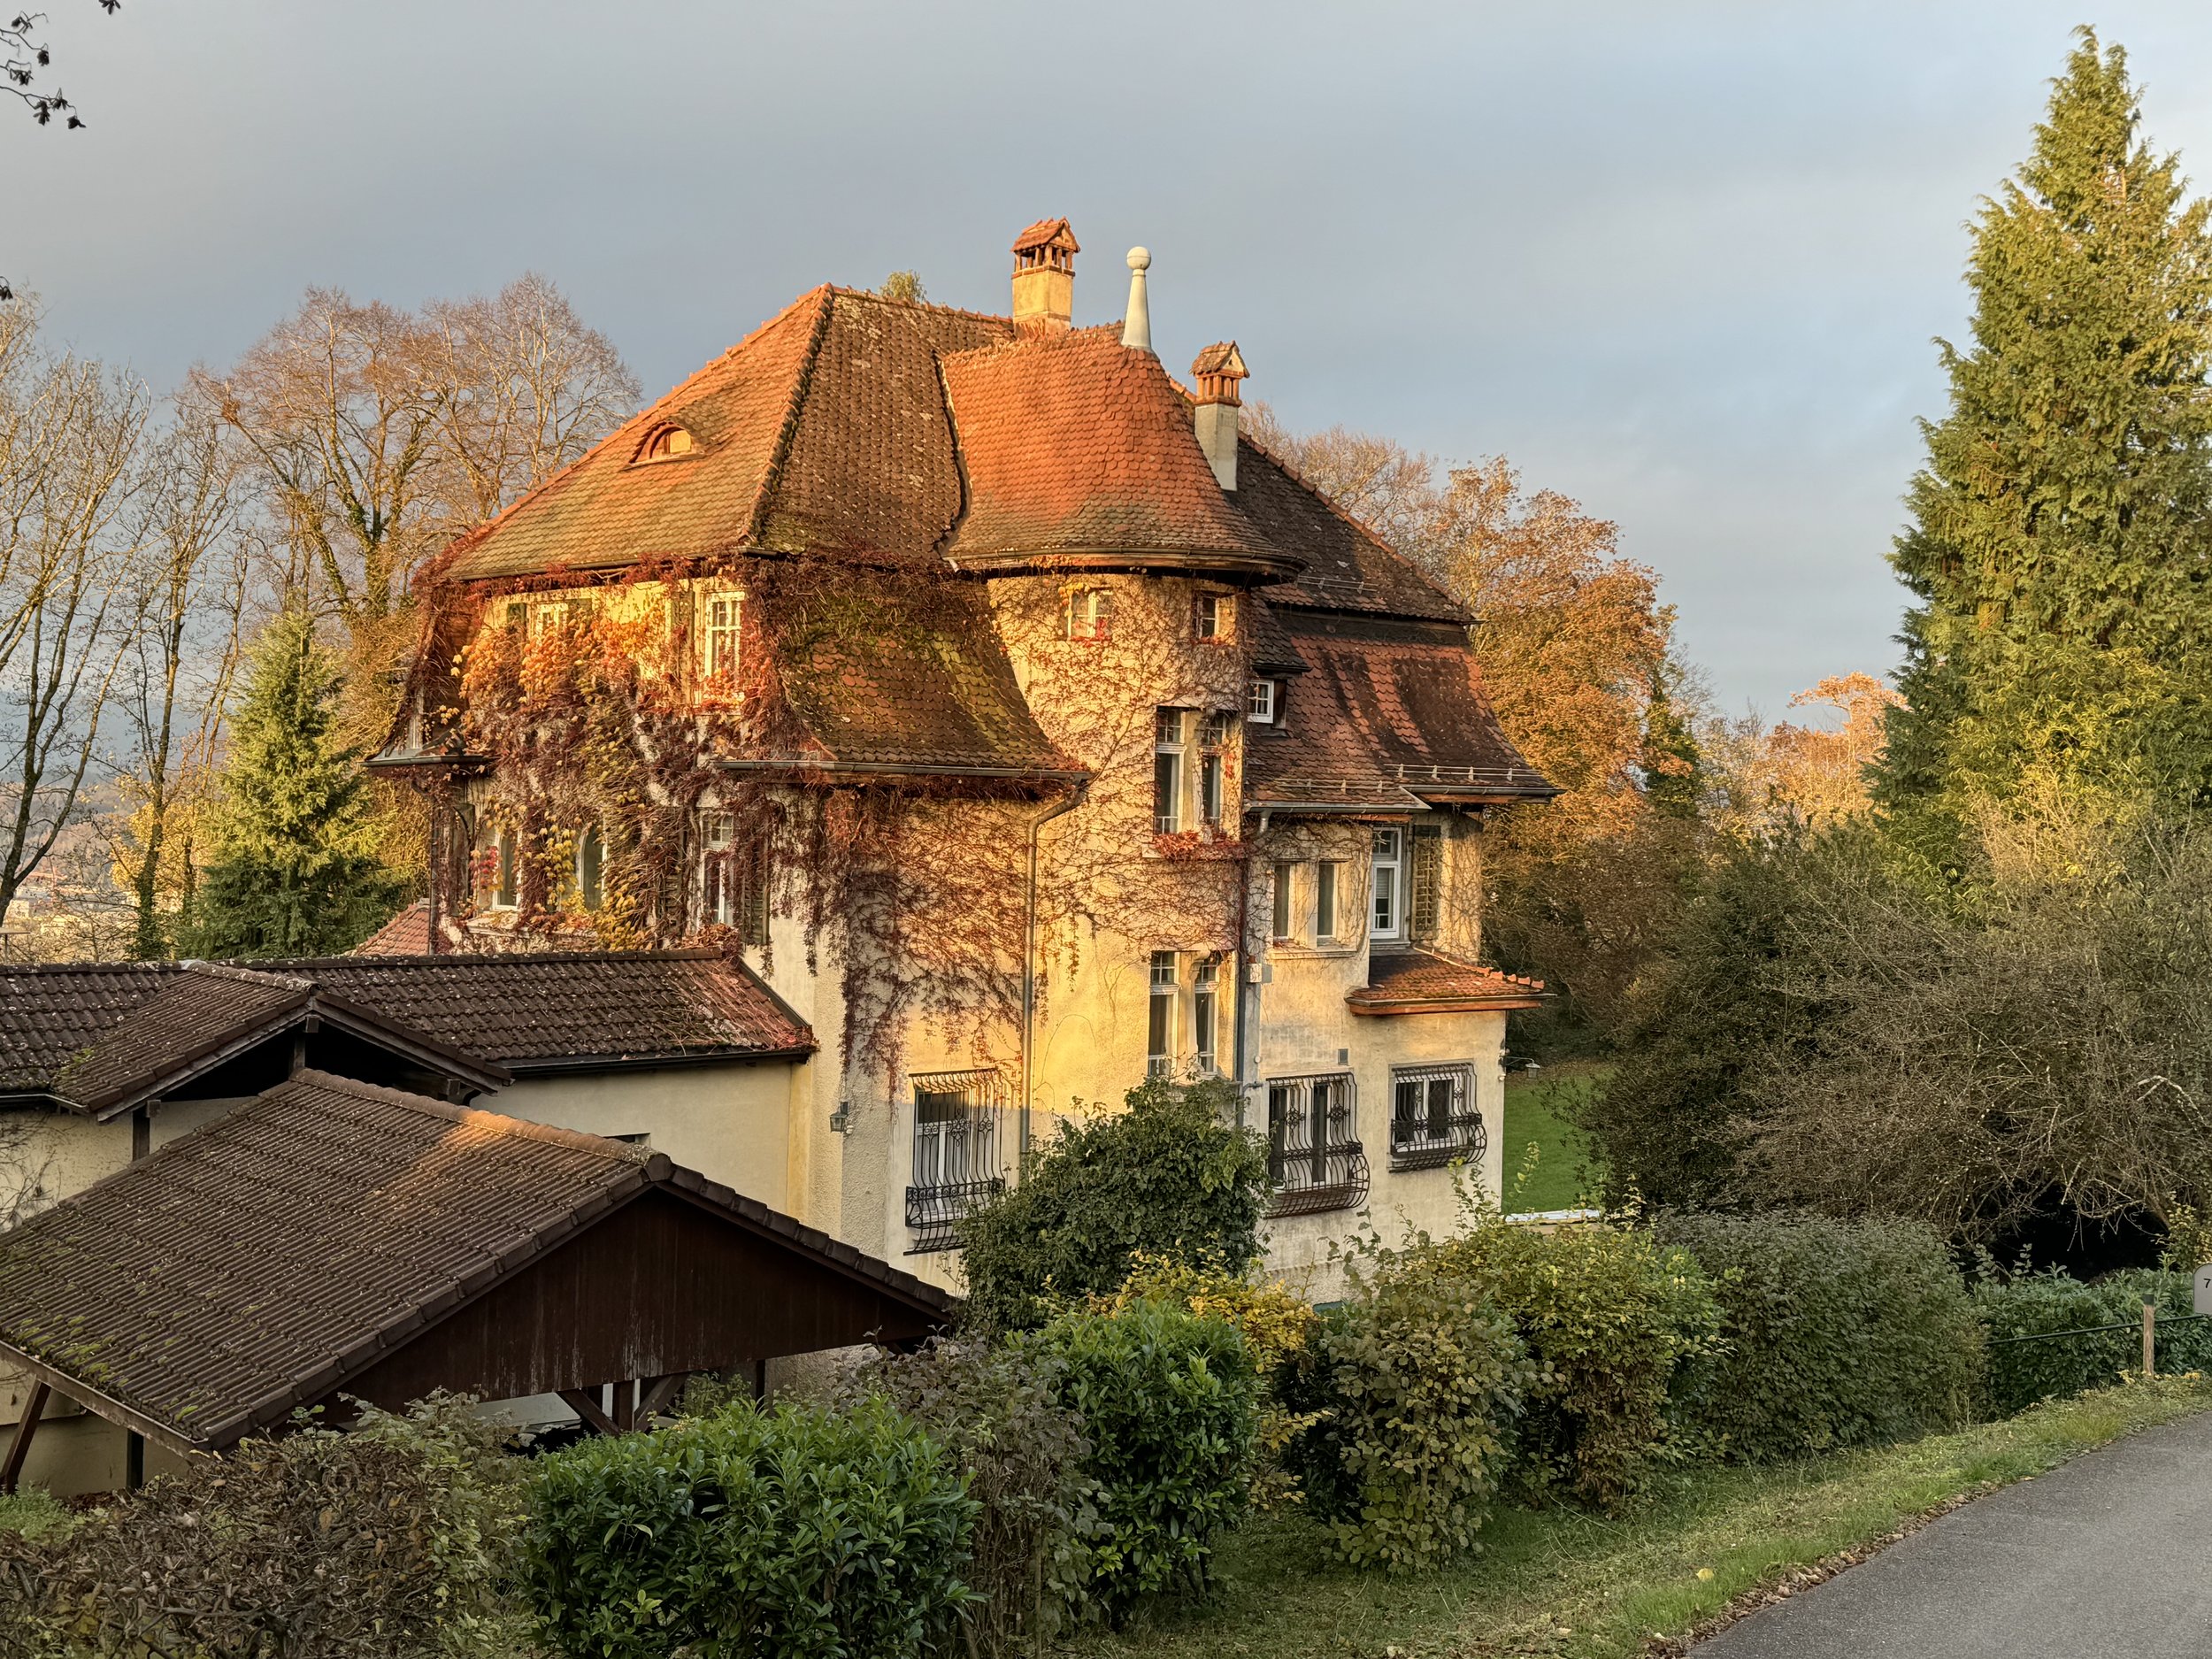
The sky is the limit! I’m Madeleine, and Villa Belvédère is the place that shaped me. After wandering far and wide, life has brought me back to this old house on a hill in Switzerland – back to my roots, and into the heart of everything that’s changing here.
Come along for the ride. In this little corner of the internet, I’ll share what bubbles up in my world: recipes stirred together on a whim, crafting ideas born from curiosity, snippets of wisdom, and the occasional wandering thought that decides to make itself heard. Not every day is as bright as I look in the photo, of course – but I try to meet each moment as it comes, with curiosity, honesty, and a touch of delight.

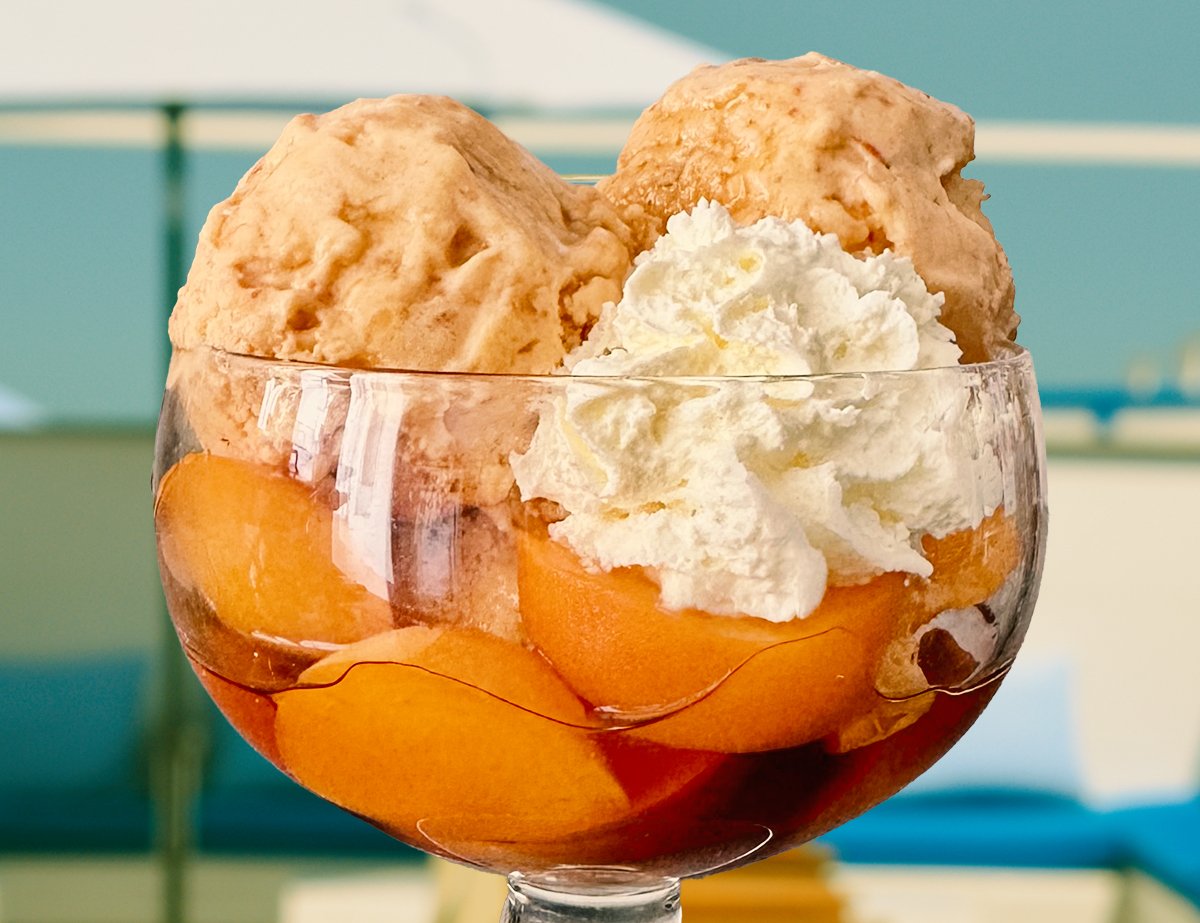
Edible Cooling for Hot Sommer Days
Summer is here. With temperatures where even cooking feels like too much. And the desire shifts toward something cool, light, and refreshing.
Here is one idea: a simple recipe for fruit ice cream à la minute.
Summer is here and so is a little ritual for hot days.
In this post, I’m sharing one of my favourite summer discoveries: creamy fruit ice cream made from just a few ingredients, ready in minutes and without an ice cream machine.
A small trick makes all the difference.
Stay cool ✨

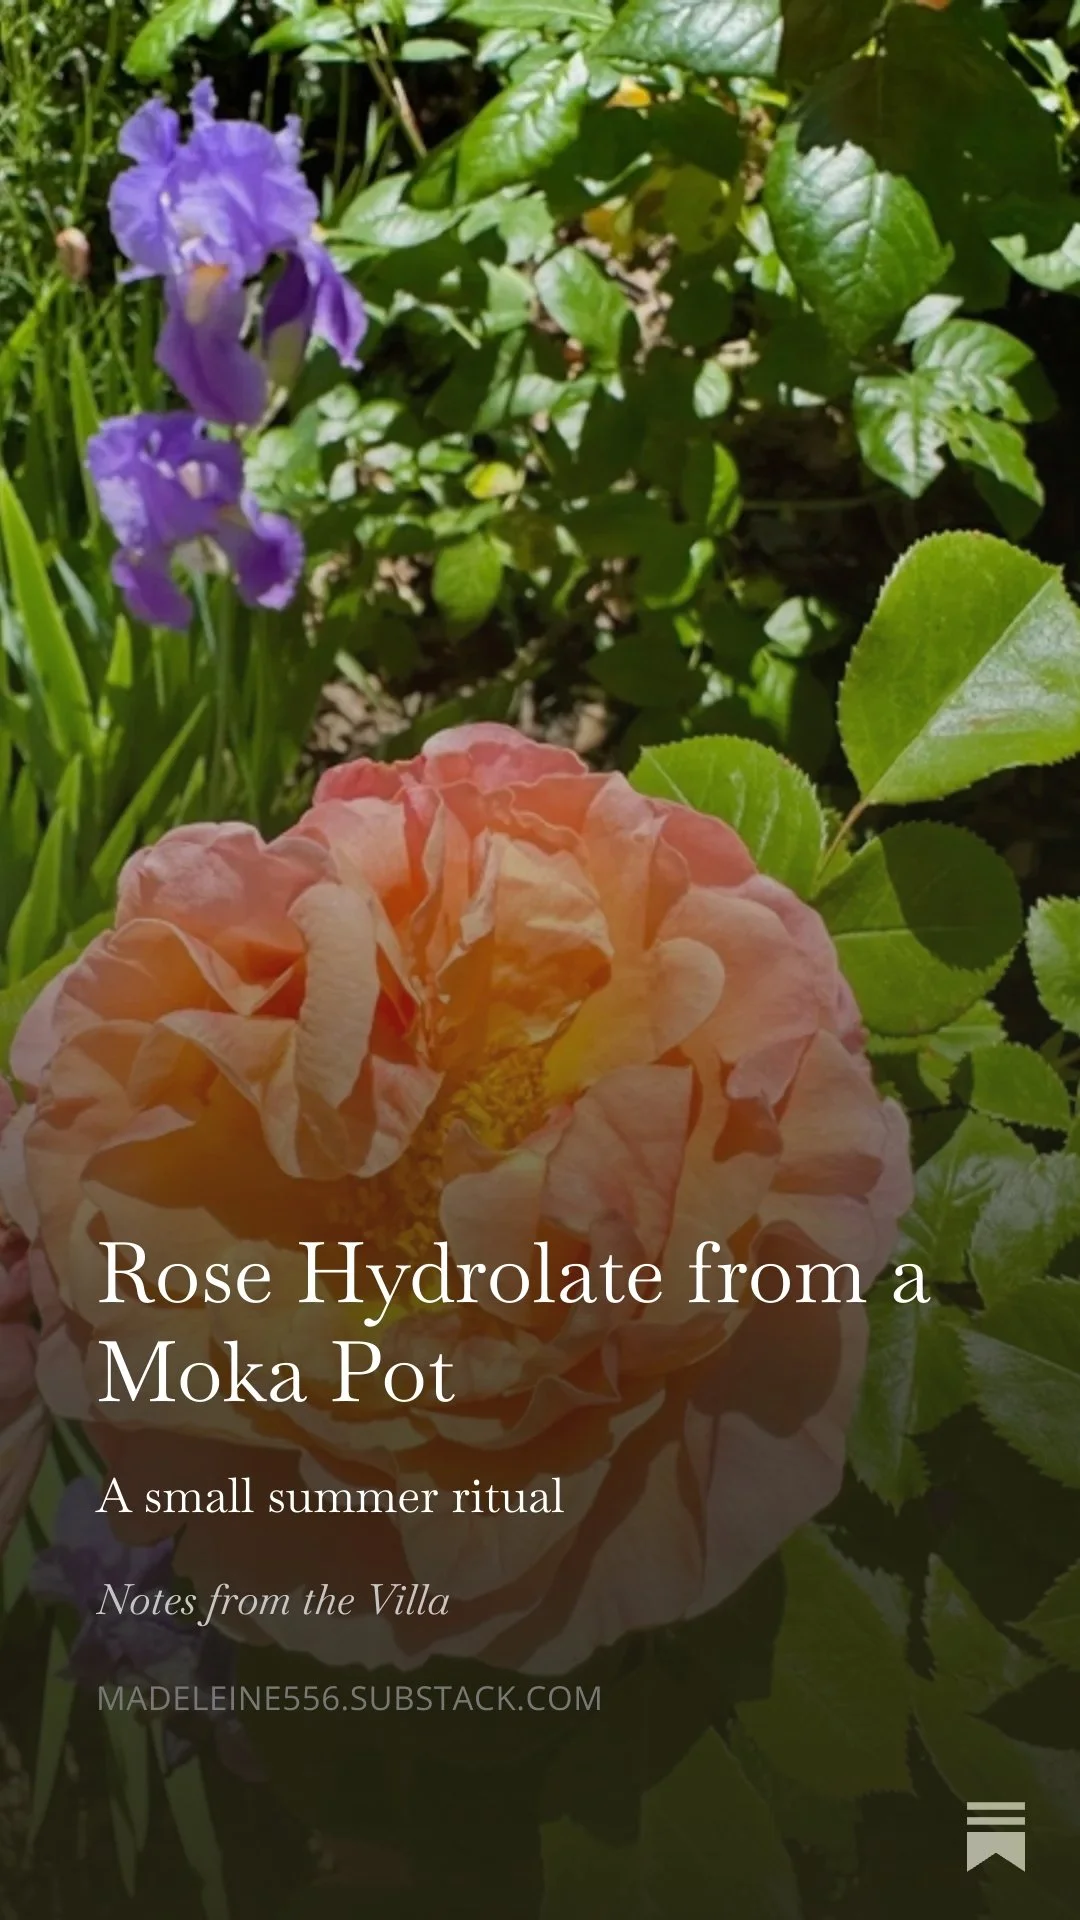
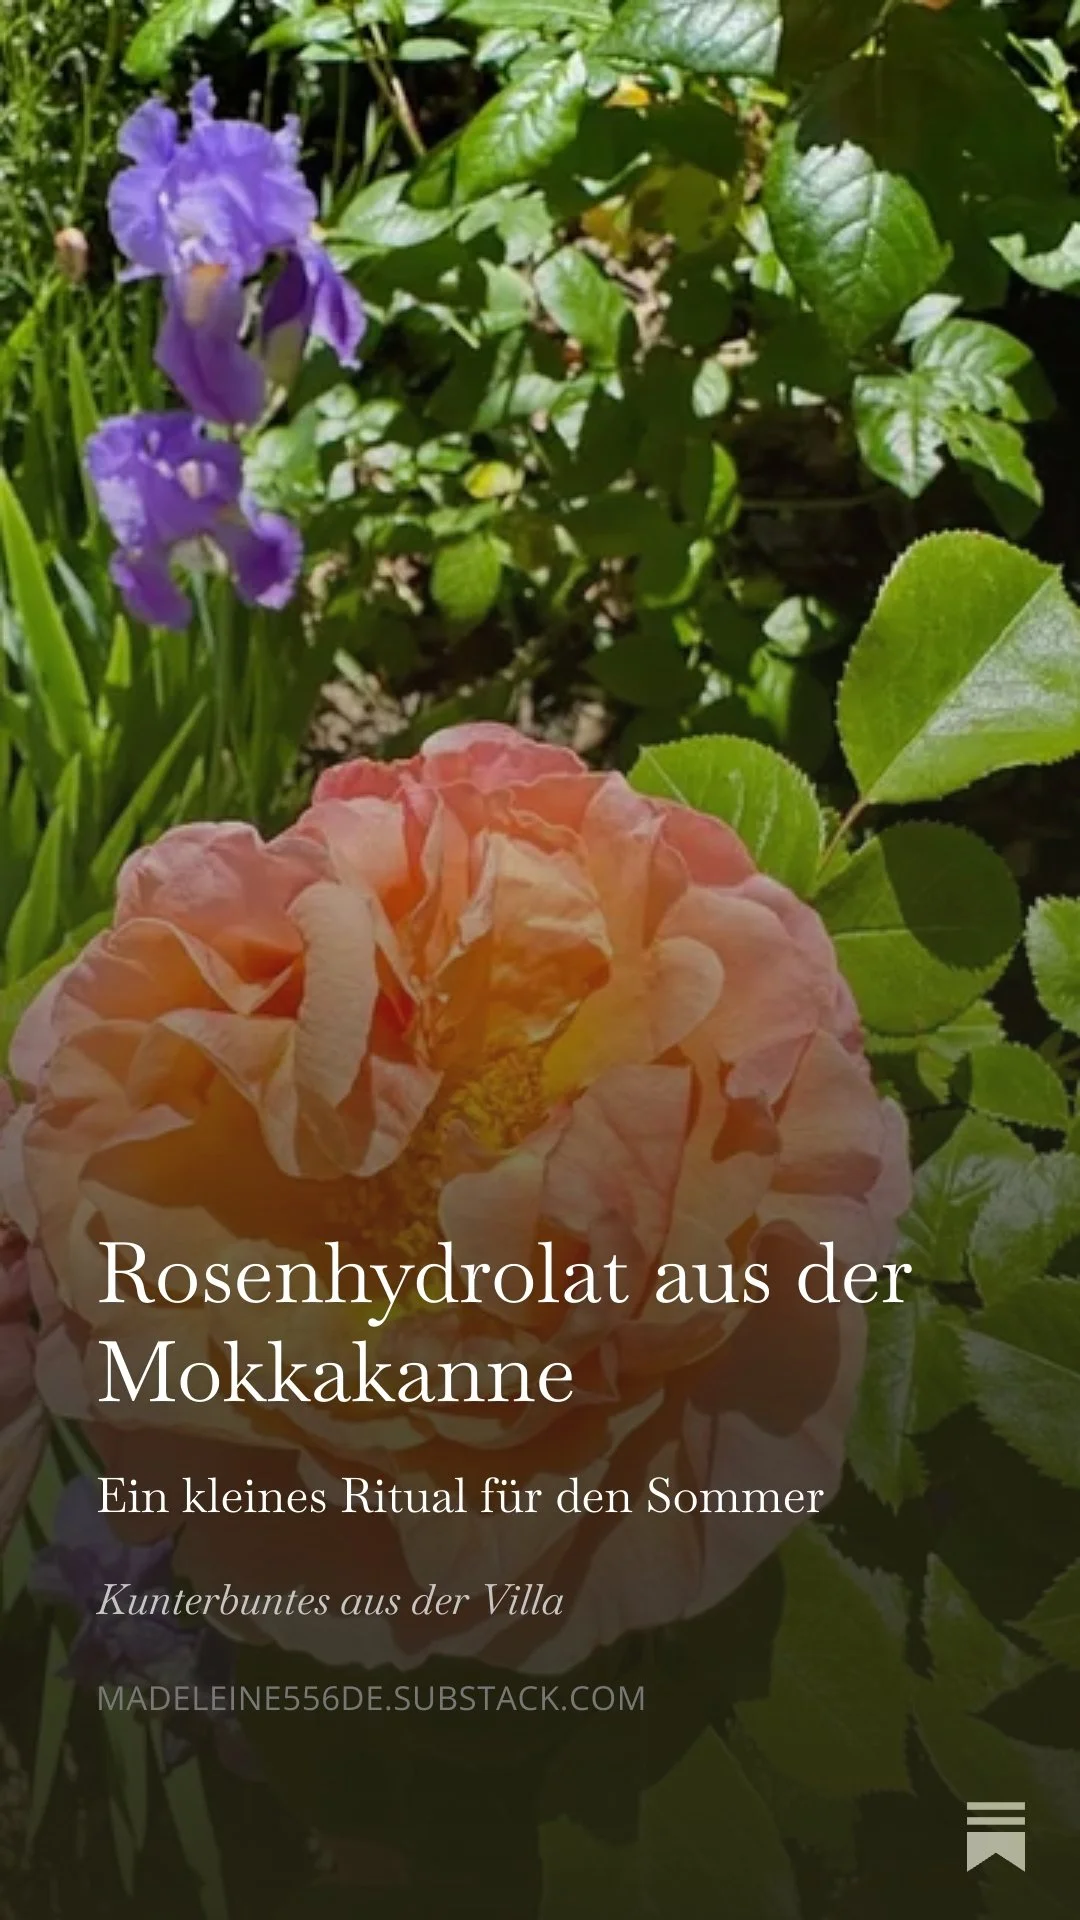
Rose Hydrolate from a Moka Pot
There are certain scents one wishes could be preserved forever.
Fresh roses belong to that category for me, and I wish I could somehow carry their incomparable fragrance through these lines.
In my latest post, I show step by step how to make a delicate rose hydrolate with just a few simple ingredients – perfect as a refreshing facial mist on warm days.
What happens when you fill an Italian moka pot not with coffee, but with rose petals?
A surprisingly fragrant summer ritual.
In my latest post, I show step by step how to make a delicate rose hydrolate with just a few simple ingredients – perfect as a refreshing facial mist on warm days.
The scent? You’ll have to imagine it for now, until you make your own first rose hydrolate. 🌹

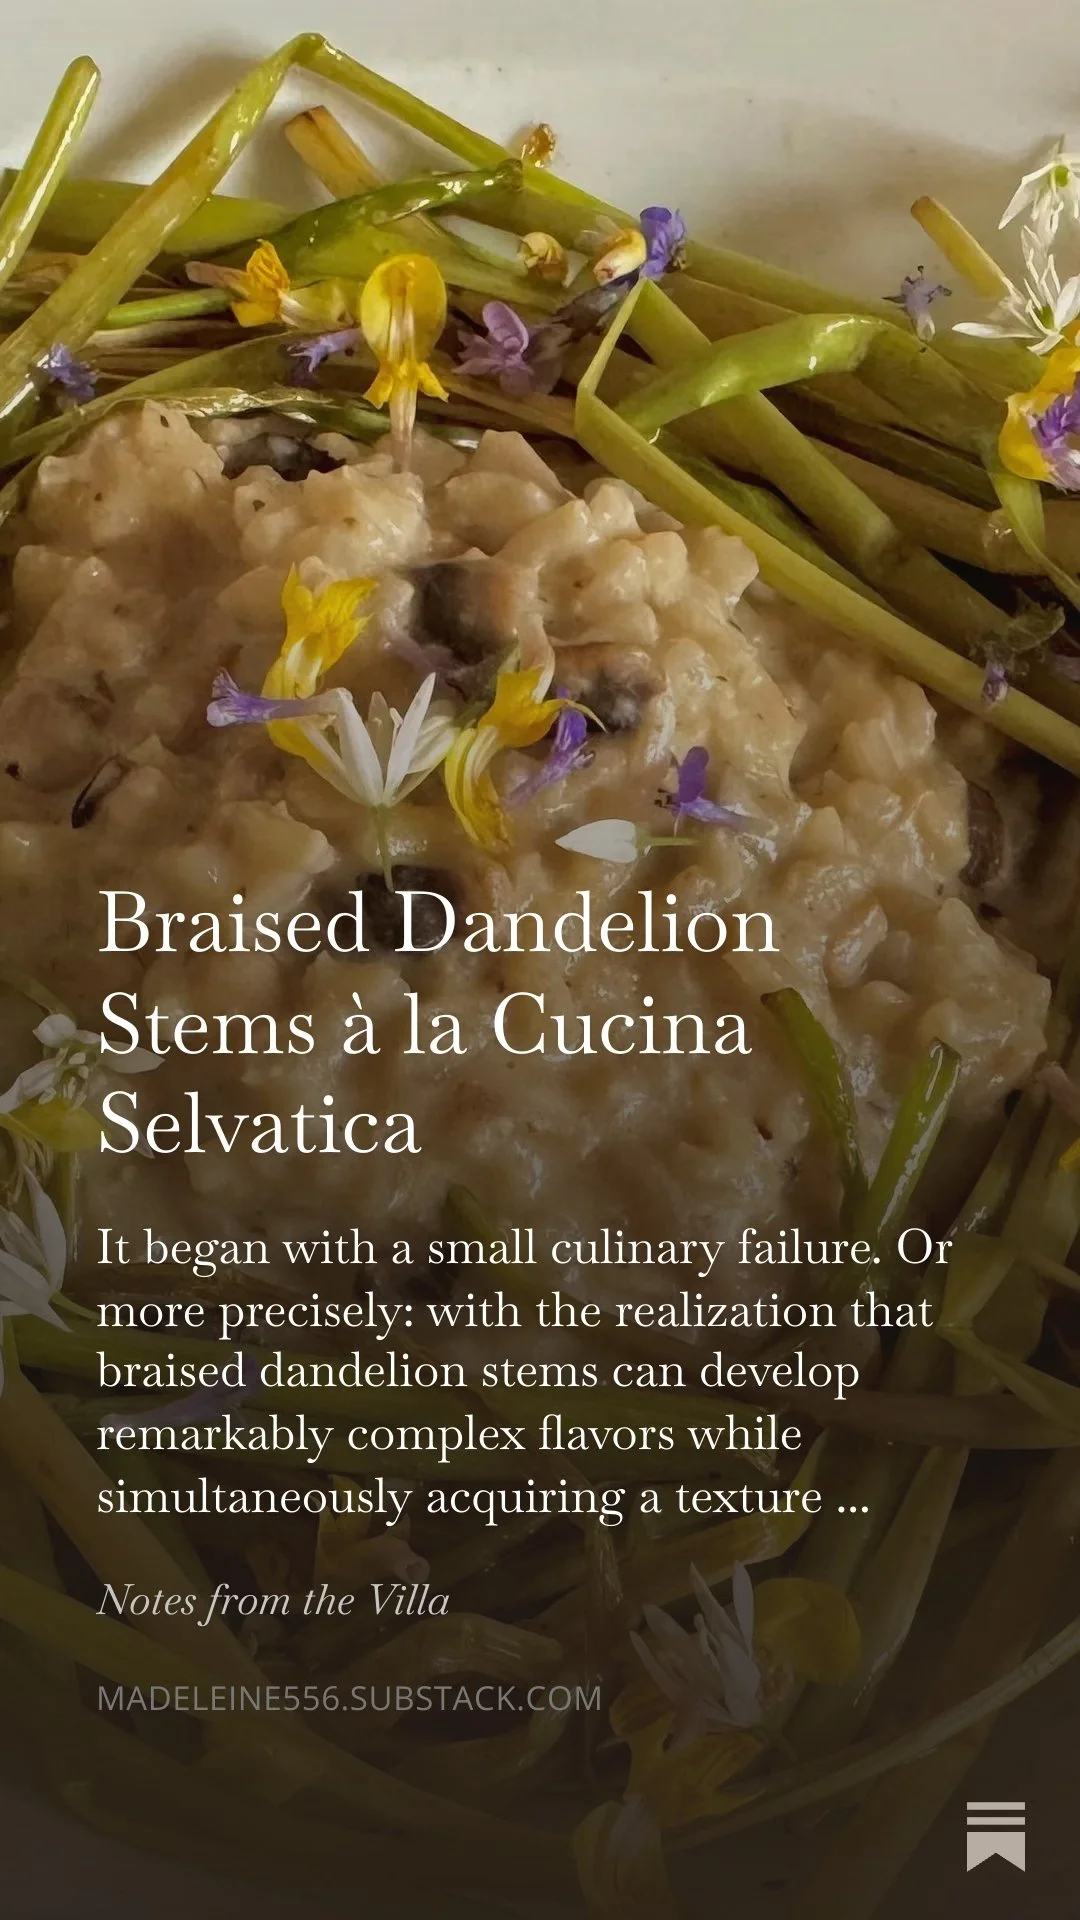
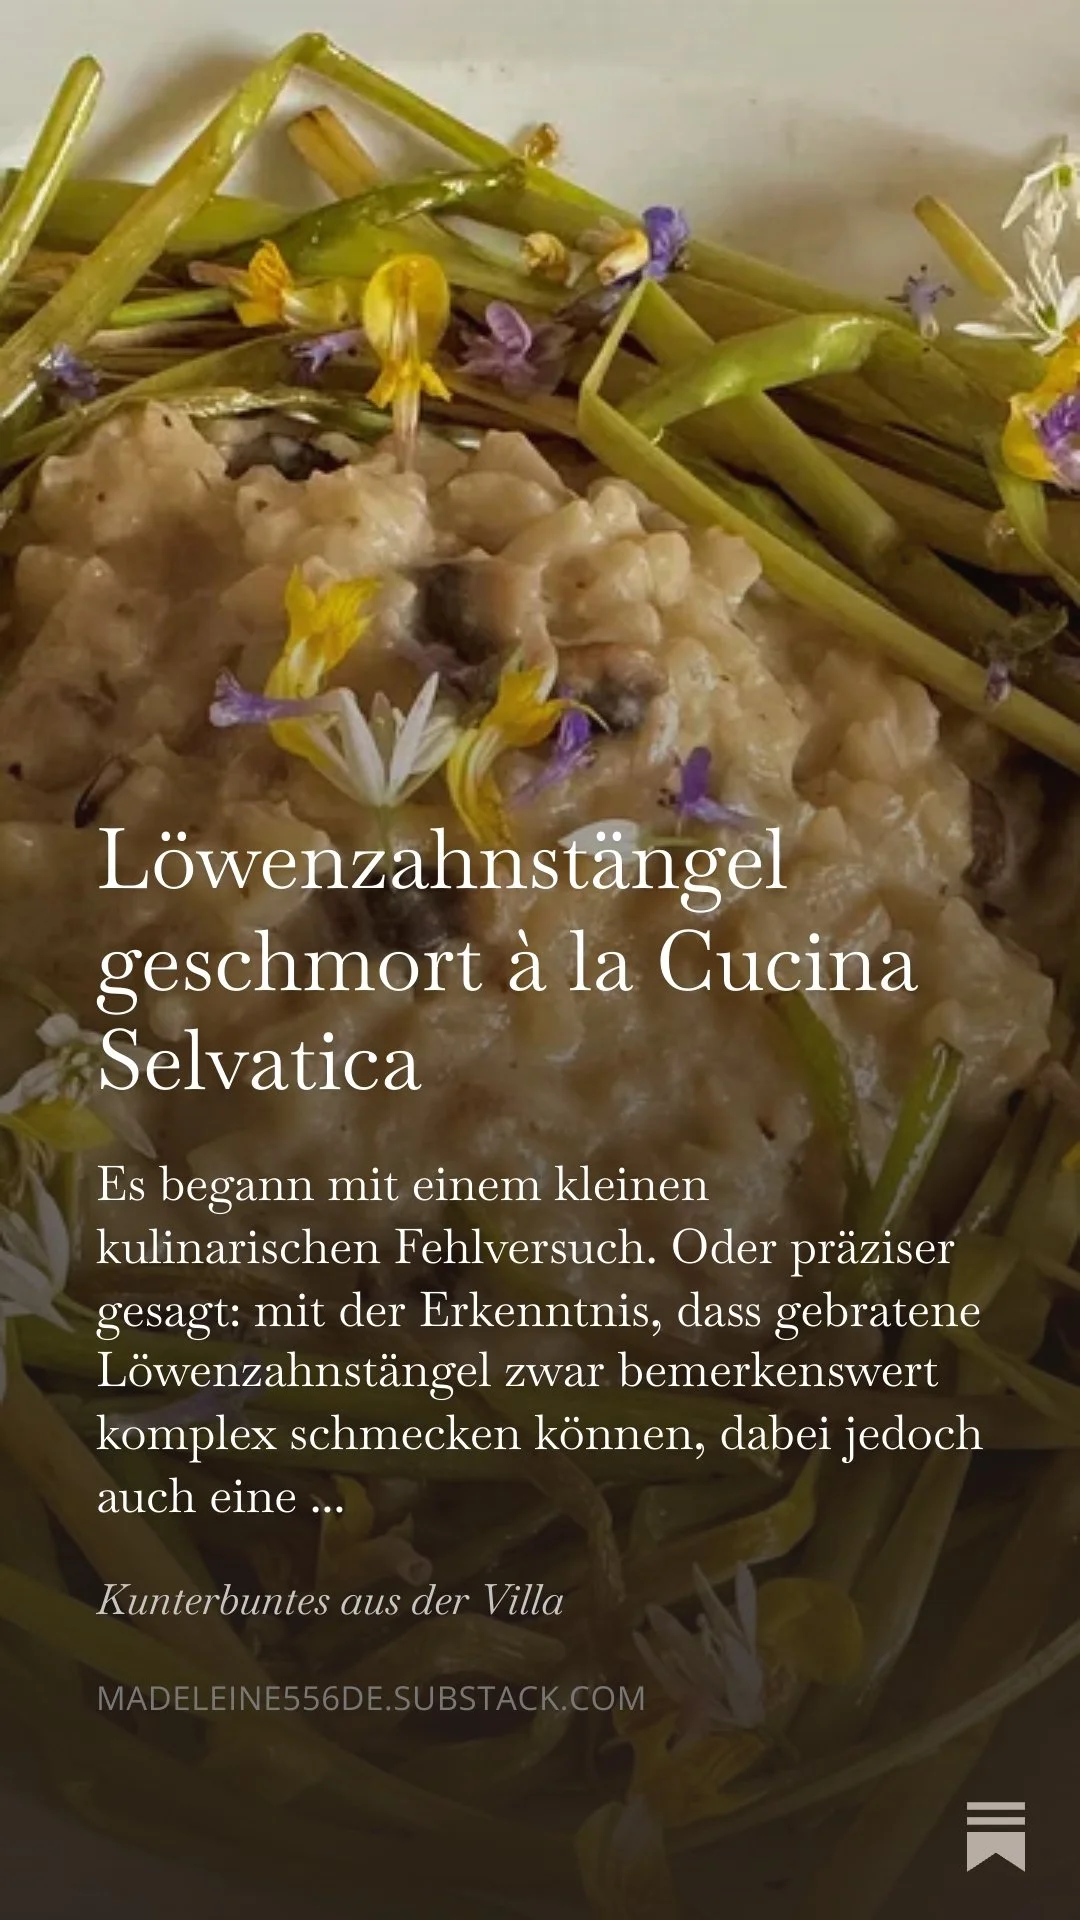
Braised Dandelion Stems à la Cucina Selvatica
Few plants embody the contrast between superficial perception and actual depth as vividly as the dandelion. What is dismissed in many places as a simple weed reveals itself, upon closer inspection, as a complete botanical work of art: leaves, buds, flowers, roots, sap, stems — every part possesses character. Every part speaks its own language. Every part has its own place in the kitchen, the apothecary, and even the workshop.
A small culinary misstep turns into an unexpected discovery: dandelion stems that move between rustic texture and surprising elegance. What begins as a simple preparation becomes a journey into the world of wild plants — with bitter notes, richness of flavour, and an unmistakable character of its own.
And somewhere between risotto, meadow, and roasted notes, a thought emerges: perhaps cooking – like everything else in life – is less about perfection and more about understanding.

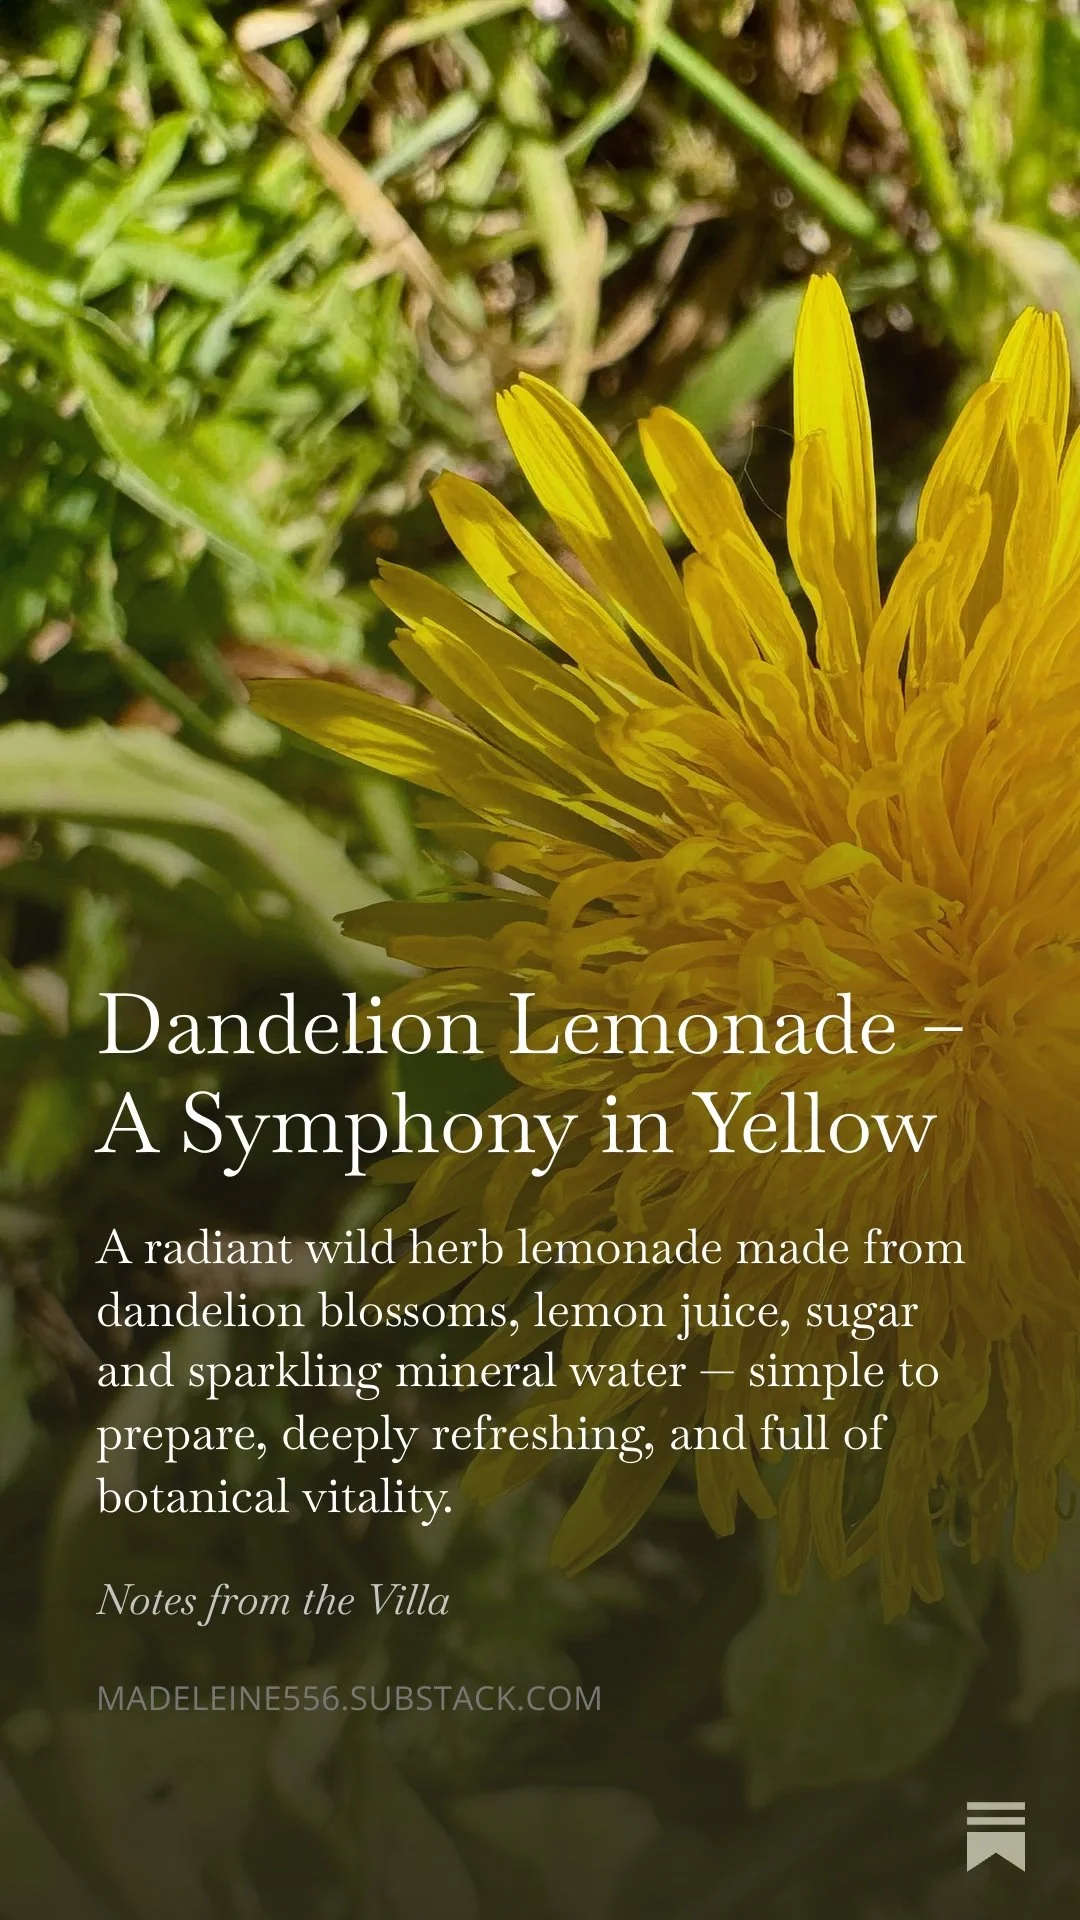
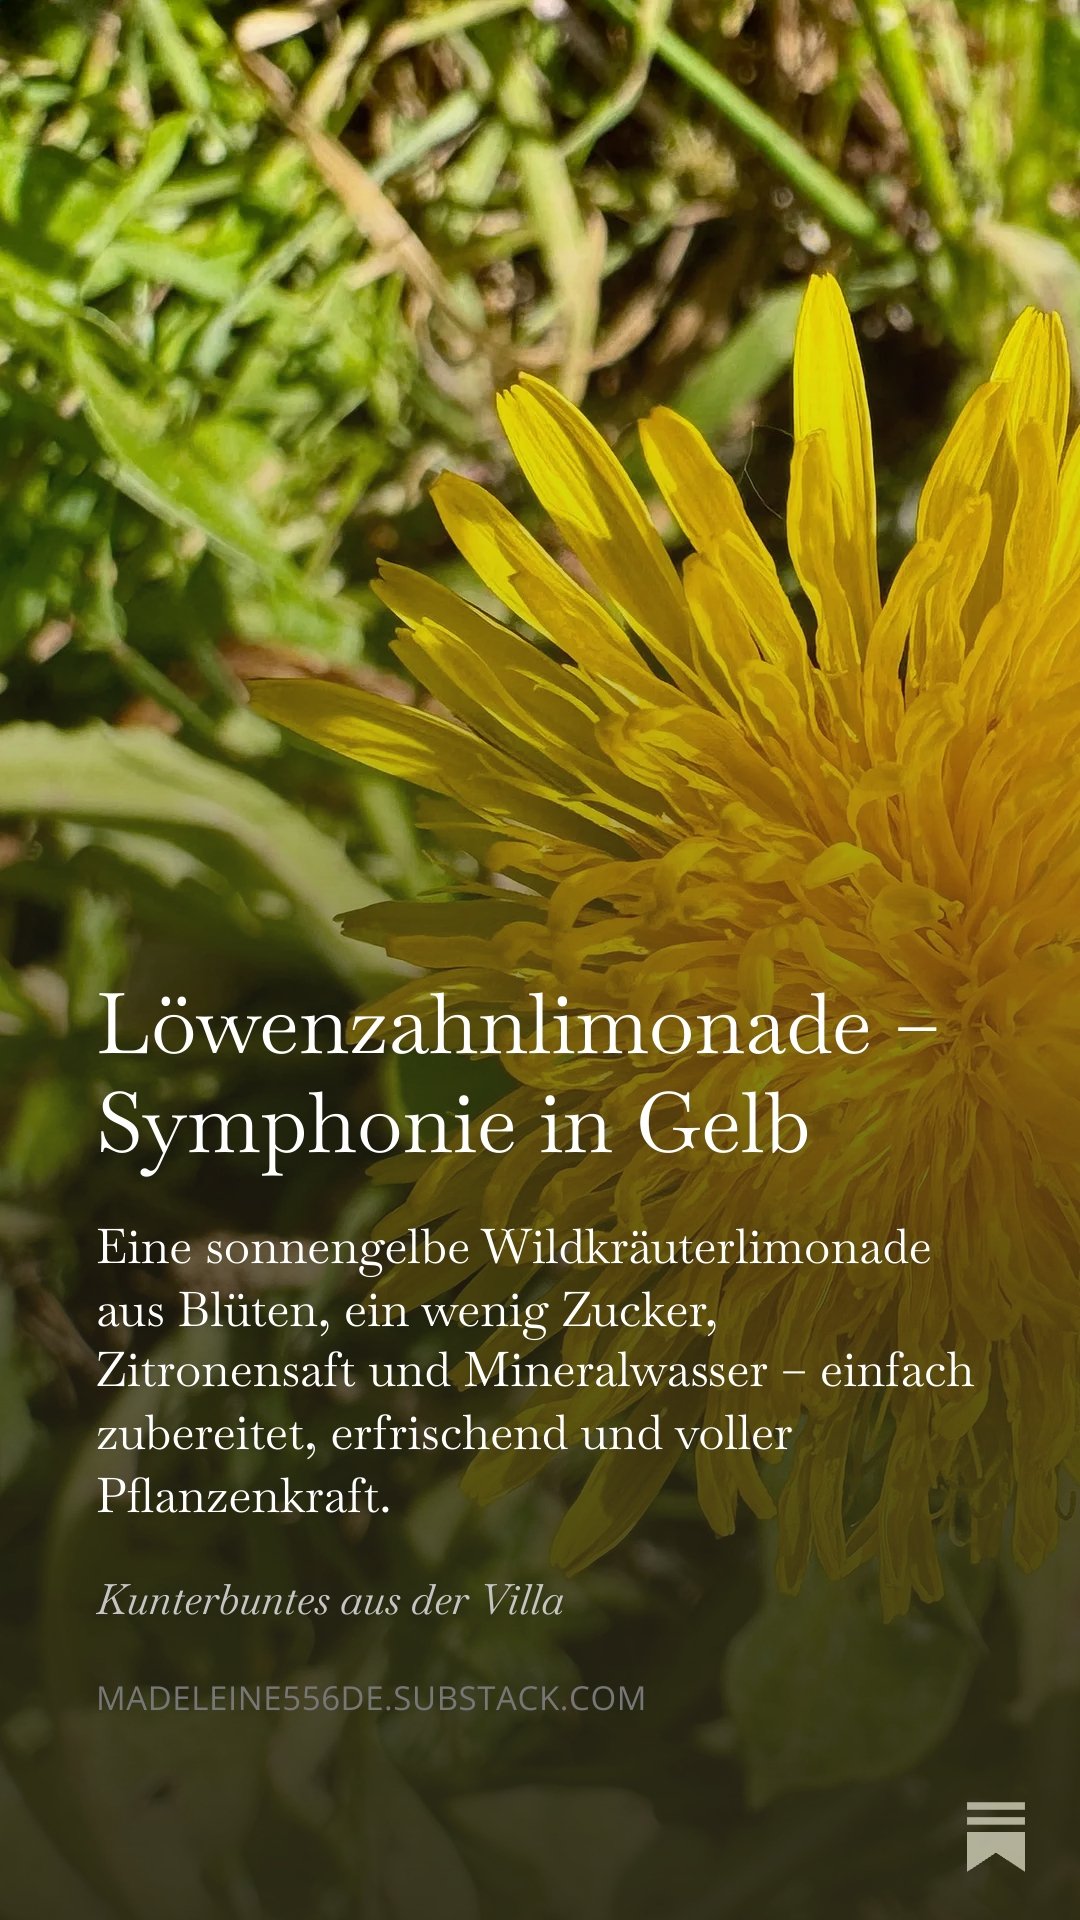
Dandelion – A Symphony in Yellow
A luminous wild herb lemonade crafted from dandelion blossoms, fresh lemon juice, sugar, and sparkling mineral water — effortlessly simple to make, wonderfully refreshing, and infused with the vibrant vitality of spring botanicals. This blog post invites you into a deeply sensory and invaluable foraging experience, reconnecting with one of nature’s most overlooked treasures.
What many dismiss as a weed is actually one of the most versatile and valuable wild plants there is. In my latest piece, I’ll show you how to transform dandelion blossoms into a radiant golden spring lemonade — simple, beautiful, refreshing, and full of botanical goodness.
Violet Sugar – Spring, Preserved
The sweet counterpart to the wild garlic salt from the previous post: violet sugar.
There are plants that do not immediately draw attention, yet stay with you. Sweet violet (Viola odorata) is one of them. Modest in appearance, yet rich in presence and quiet radiance.
A fleeting fragrance, captured at its peak. Violet sugar is a simple way to preserve both sweetness and season. In this post, I’ll show you how to transform delicate blossoms into a small, refined indulgence.


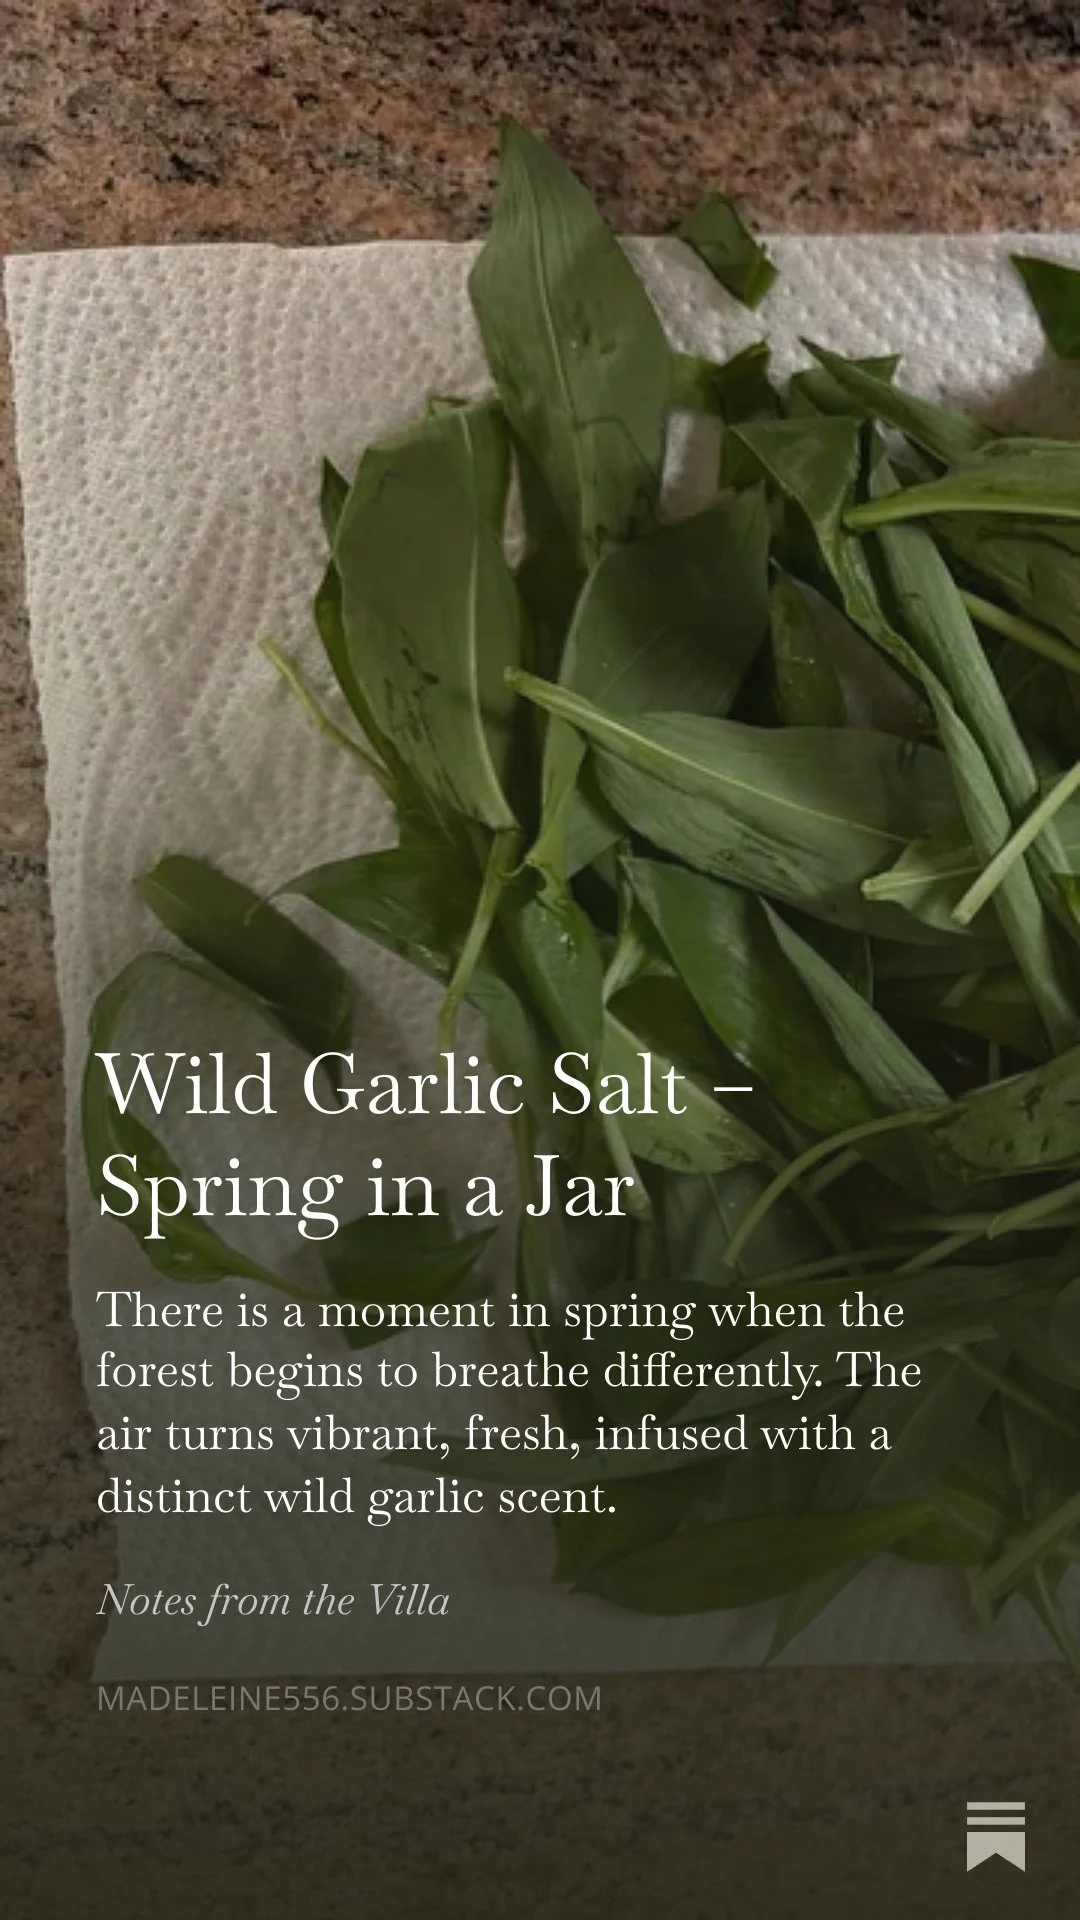
Wild Garlic Salt – Spring in a Jar
There is a moment in spring when the forest begins to breathe differently. The air turns vibrant, fresh, infused with a distinct wild garlic scent.
This is when wild garlic appears, and for me it has become a quiet ritual to harvest the first tender leaves and transform them into wild garlic salt.
The forest is fragrant, spring has arrived. From a handful of fresh wild garlic leaves and good salt, something emerges that goes far beyond a simple seasoning. In this post, I guide you step by step through making wild garlic salt and capturing a little piece of spring in a jar.

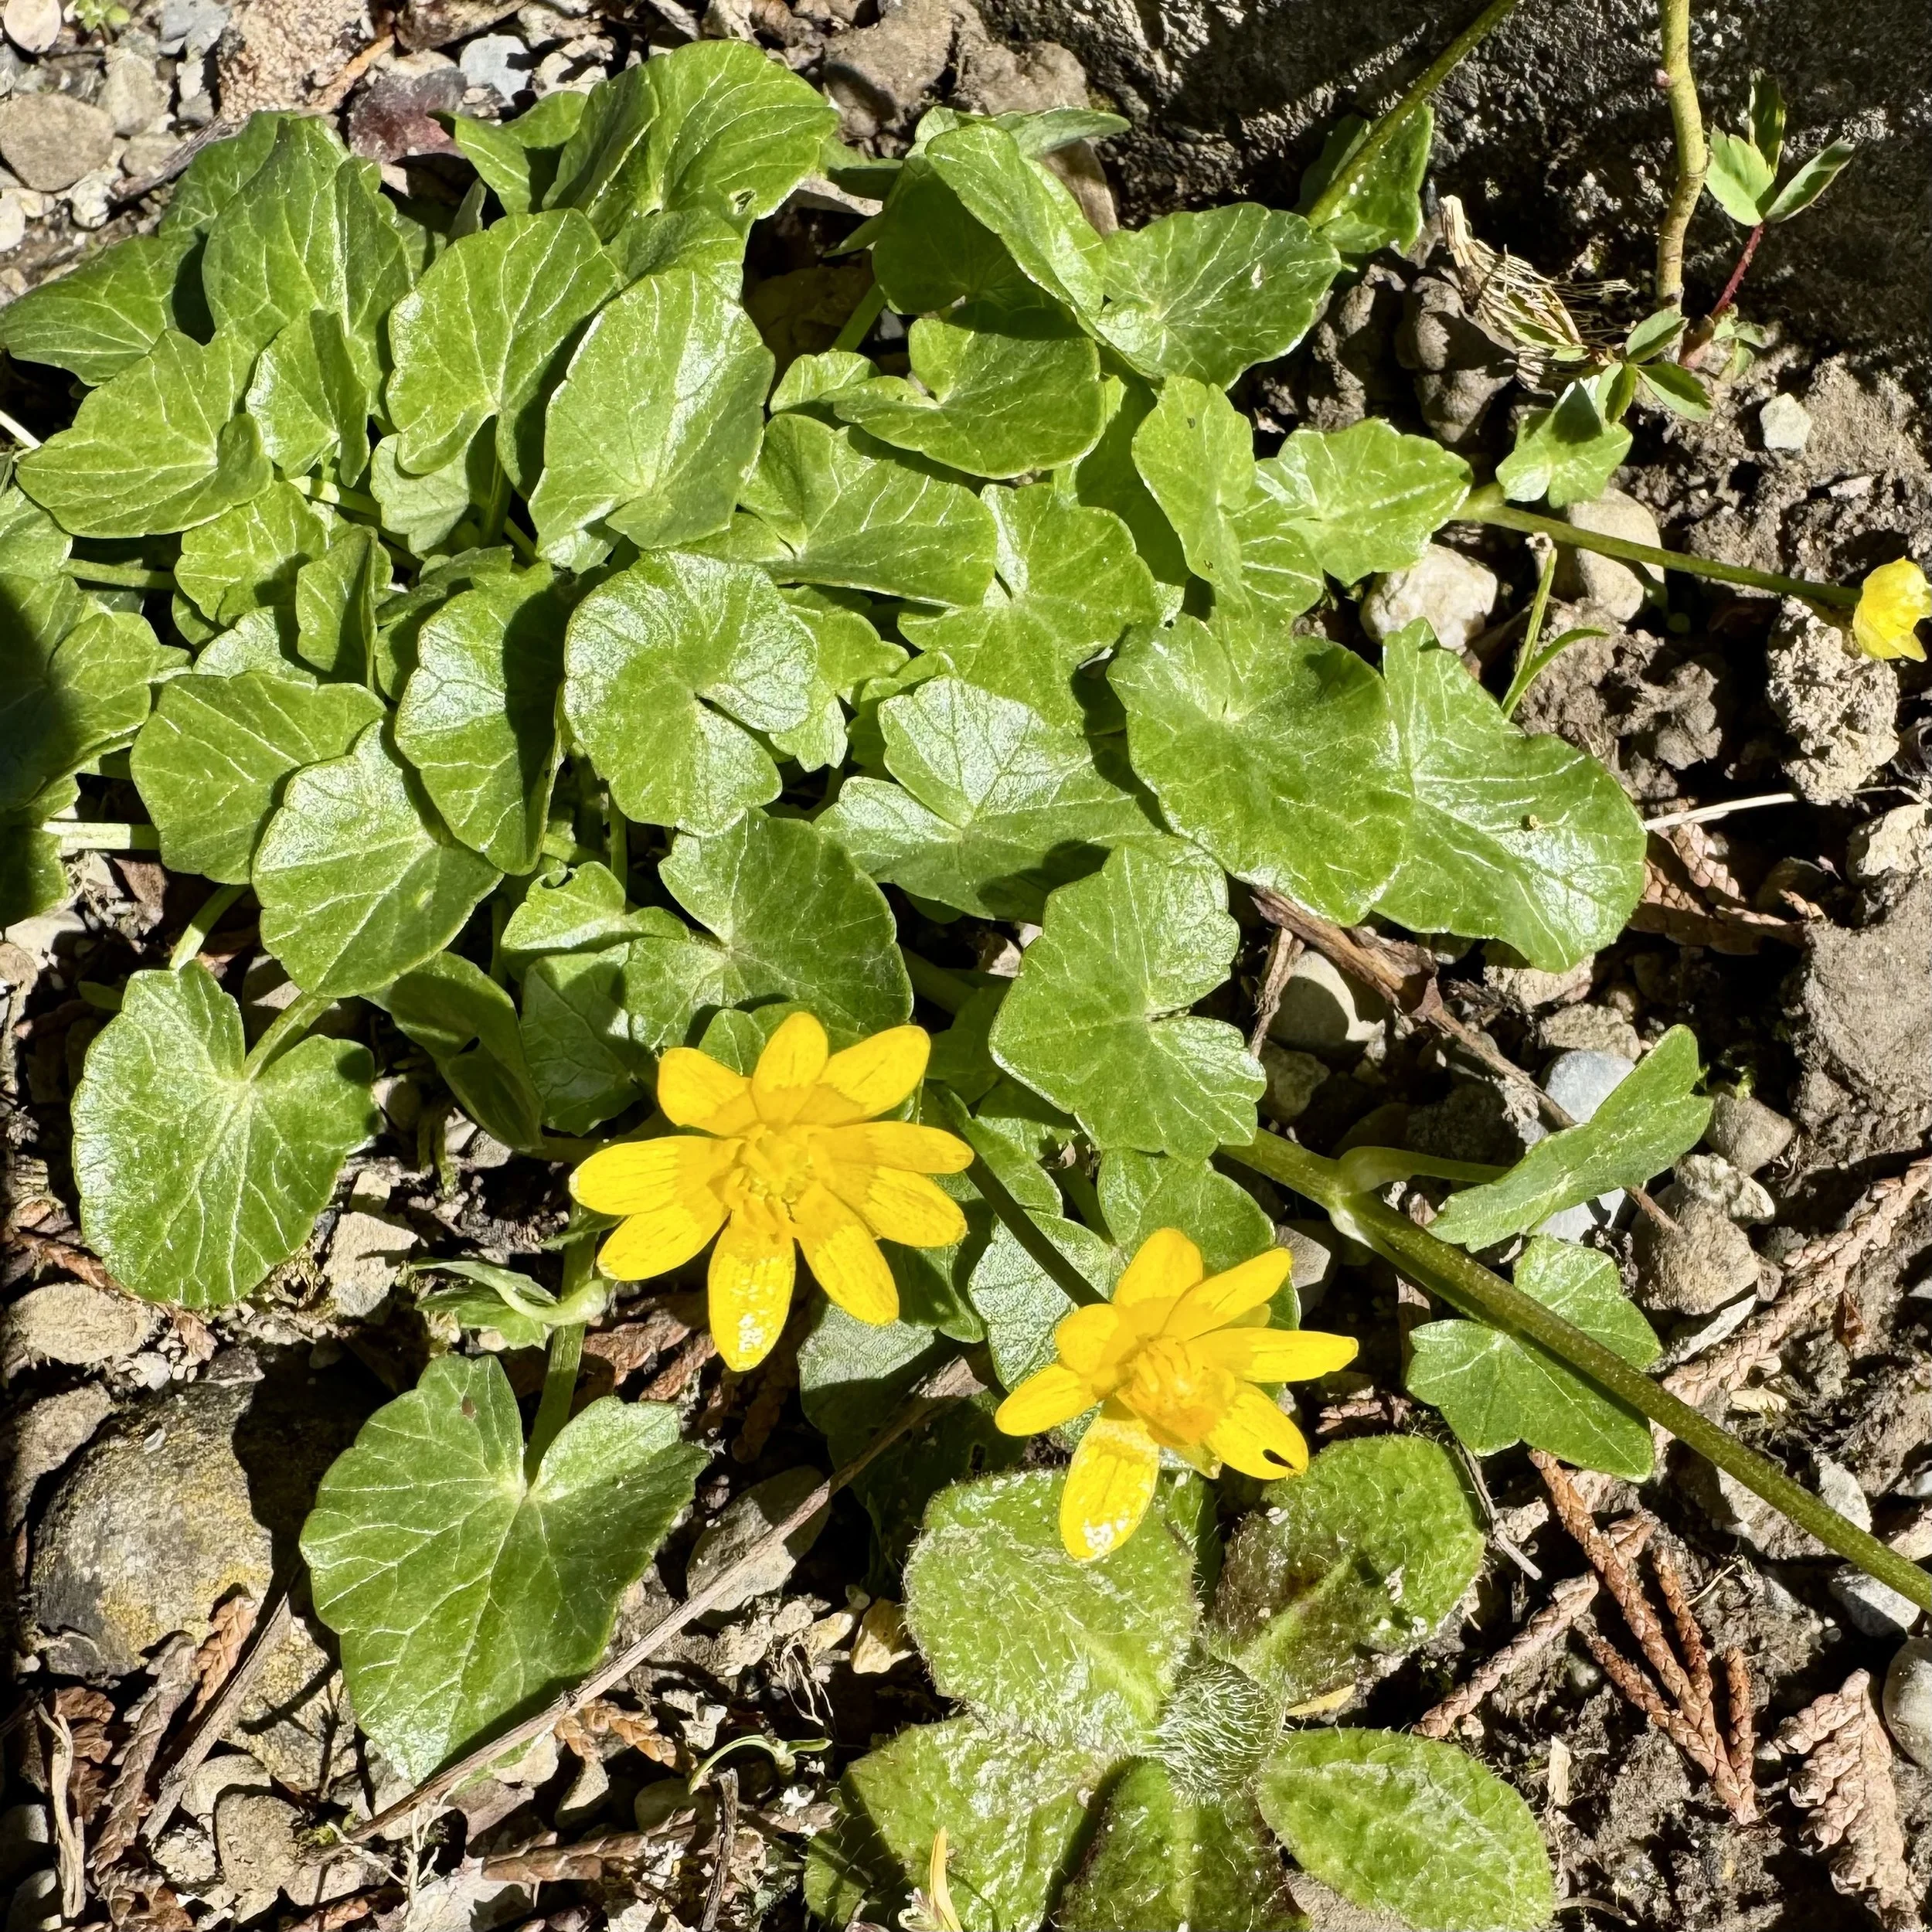
Fermenting Lesser Celandine (Ficaria verna)
In this post, I’ll show you how to safely identify, harvest, and ferment this little treasure—and turn it into a small jar of spring.
When early spring is just beginning and the soil is still cool, the first glossy leaves of the lesser celandine begin to appear.
The young leaves have a mild, slightly tangy flavor, reminiscent of spinach or watercress. They can be eaten raw or, more interestingly, fermented, a process that enhances flavor, preserves the plant, and improves nutrient availability.
When the first tender greens emerge from the still-cool earth, lesser celandine returns: shiny, vibrant, and full of early spring vitality.
Once valued as a remedy against scurvy, this humble plant offers more than just history. Fermented at the right moment, it transforms into a bright, lemony, deeply nourishing wild herb preserve.
In this post, I’ll show you how to safely identify, harvest, and ferment this little treasure—and turn it into a small jar of spring.

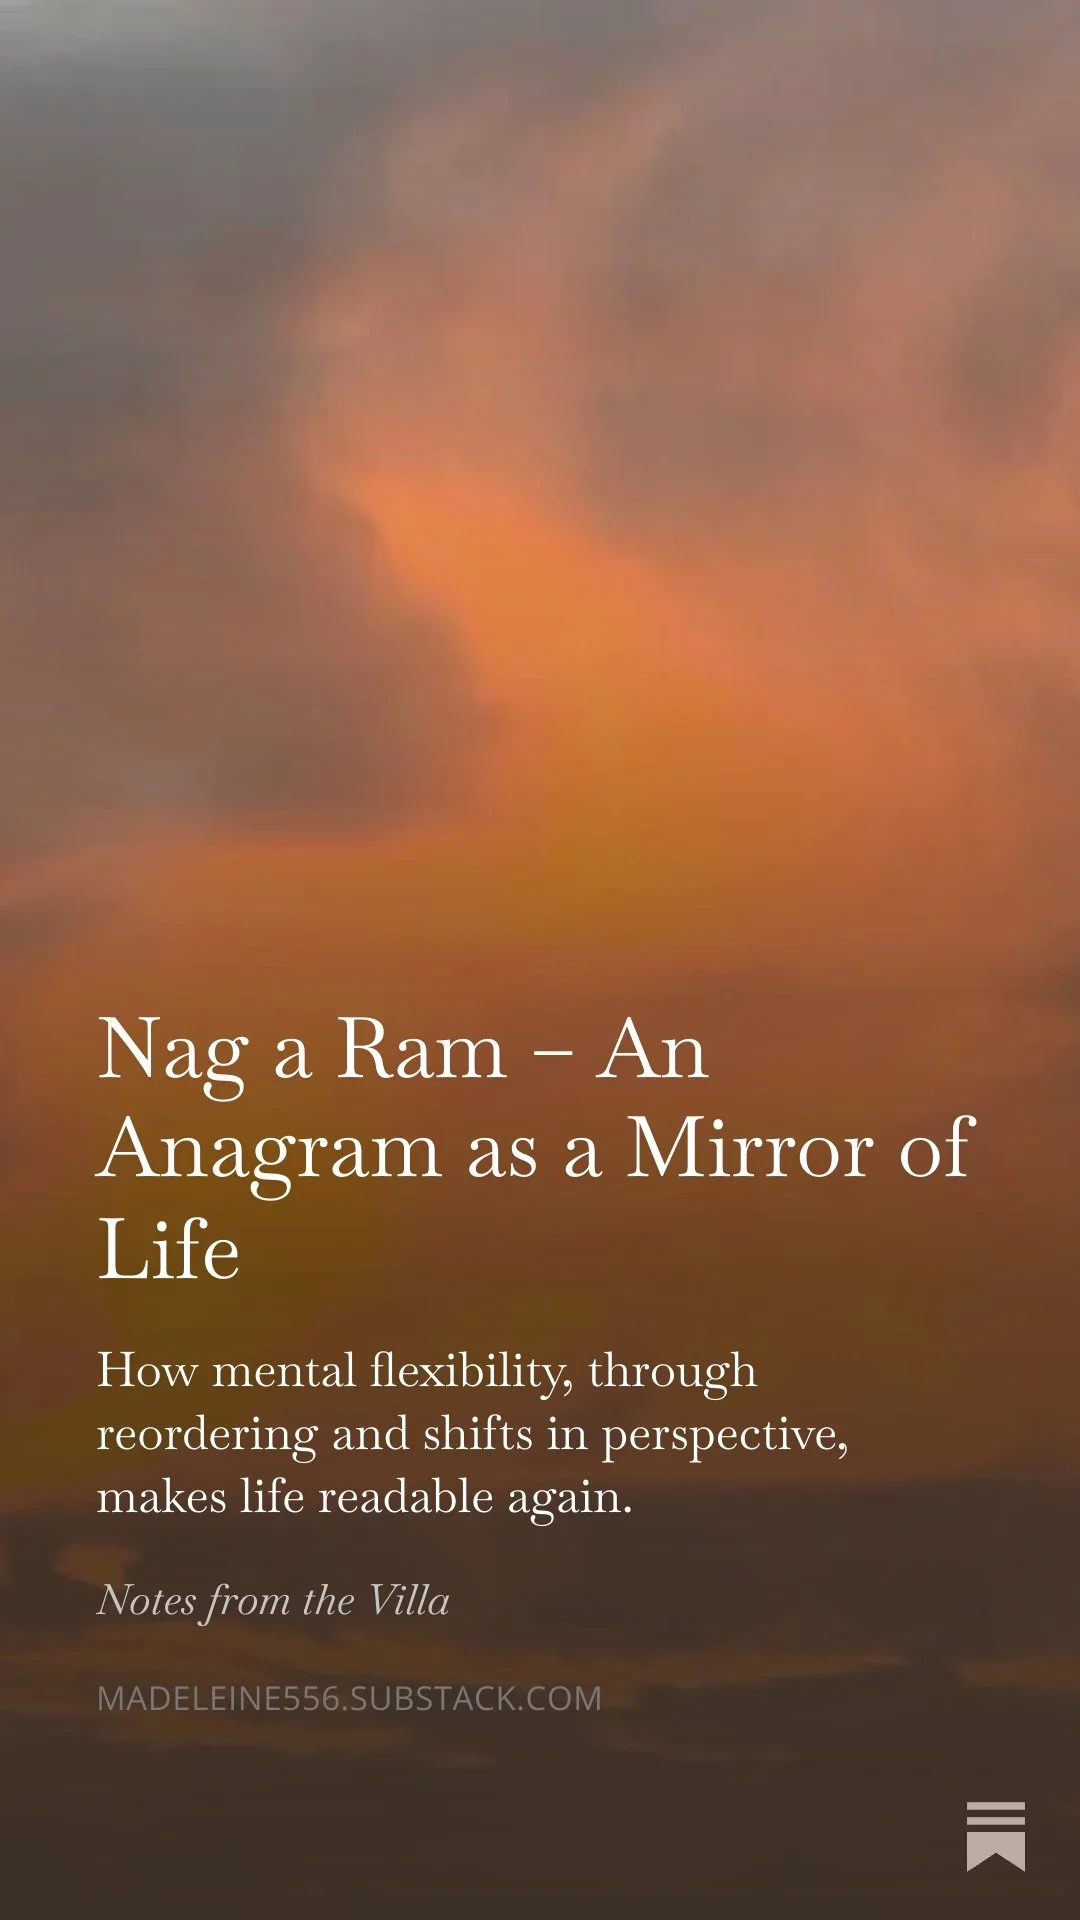
Nag a Ram – An Anagram as a Mirror of Life
A fleeting moment on a bus, an anagram on a screen—and suddenly a larger question emerges:
What if life doesn’t require new answers, but a new arrangement of what we already know?
This piece explores mental flexibility as the art of reordering, shifting perspective, and bringing movement, curiosity, and meaning back into everyday life.
This Substack piece is about how mental flexibility, through reordering and shifts in perspective, makes life readable again.

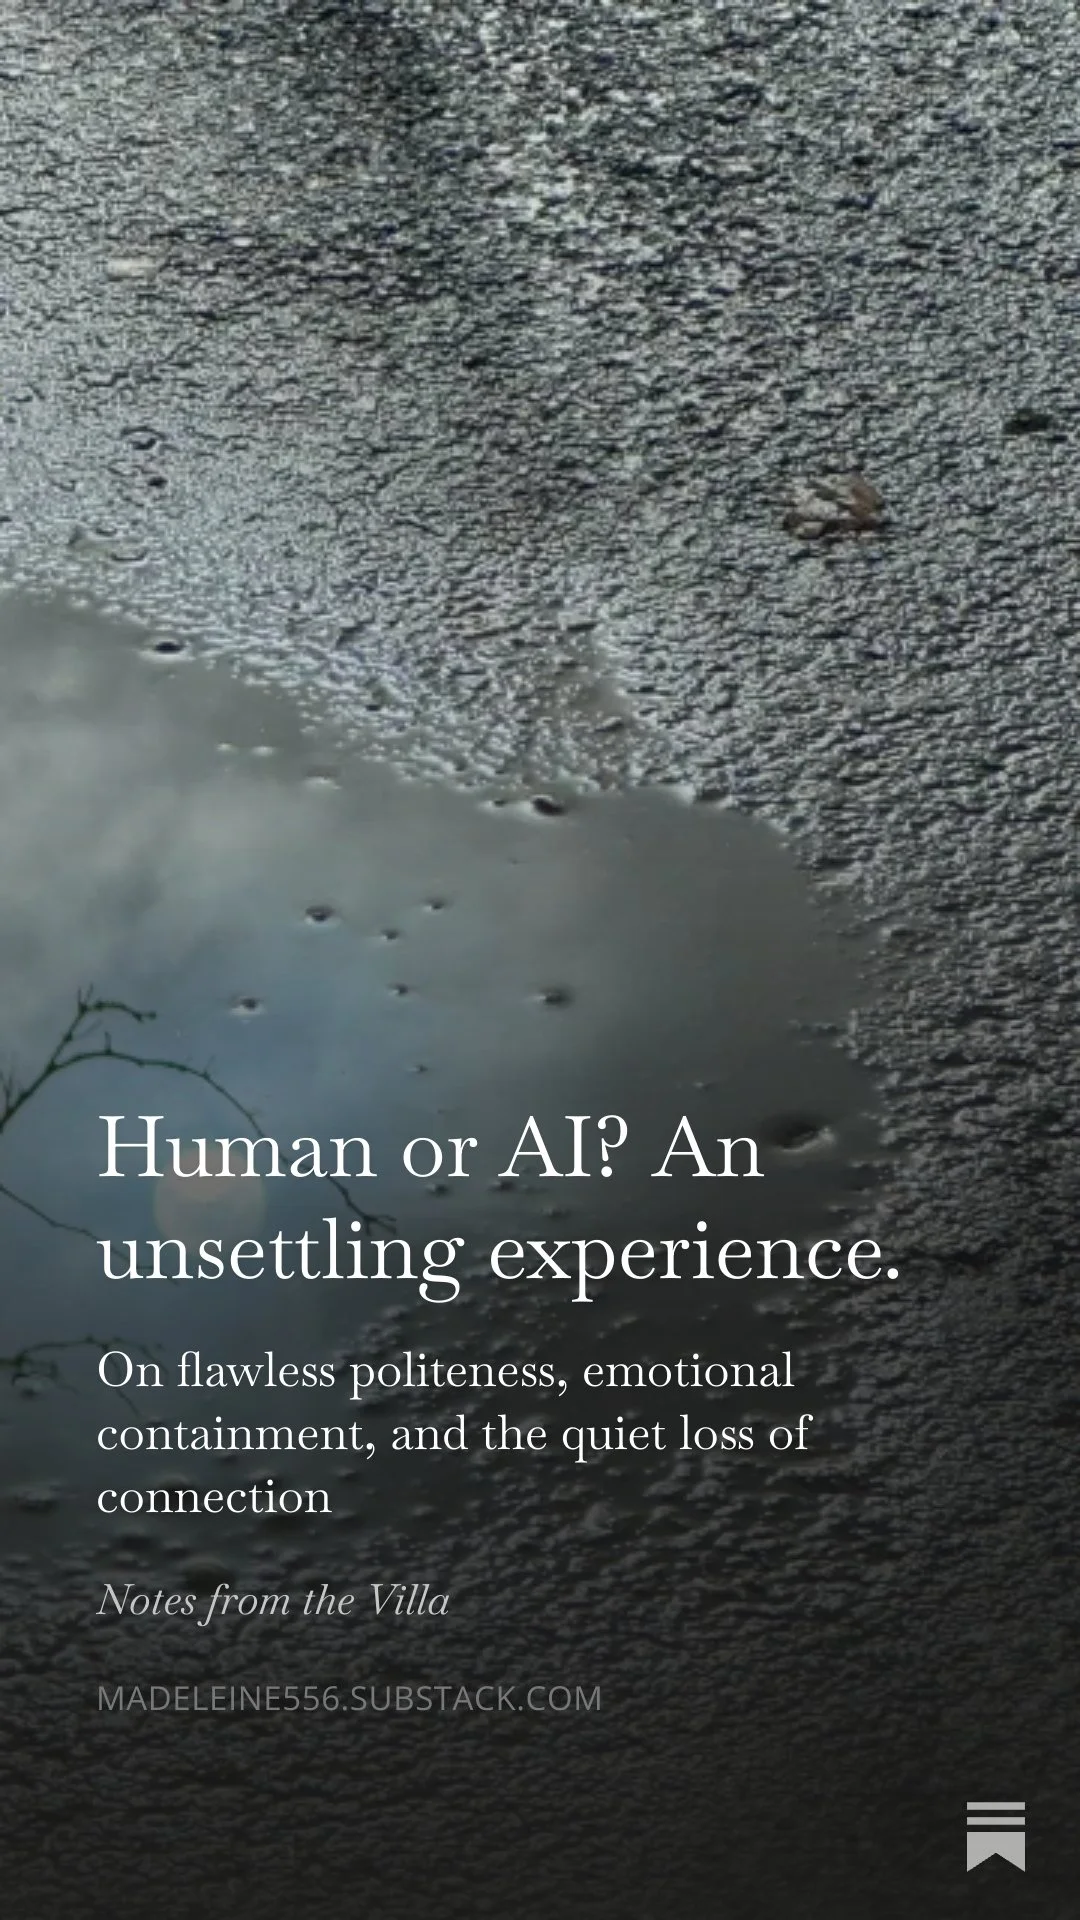
Human or AI? An unsettling experience
When politeness becomes flawless, something else can disappear. A recent encounter left me questioning whether I was speaking to a person or a system. This piece explores emotional containment, the gradual erosion of connection, and why authenticity remains essential wherever human relationships are supposed to matter.
What happens when flawless politeness replaces real presence? A recent encounter left me wondering whether I was speaking to a human or to an algorithm. This piece on my Substack channel explores emotional containment, the quiet erosion of connection, and why authenticity still matters deeply — especially where human relationships are meant to be at the center.

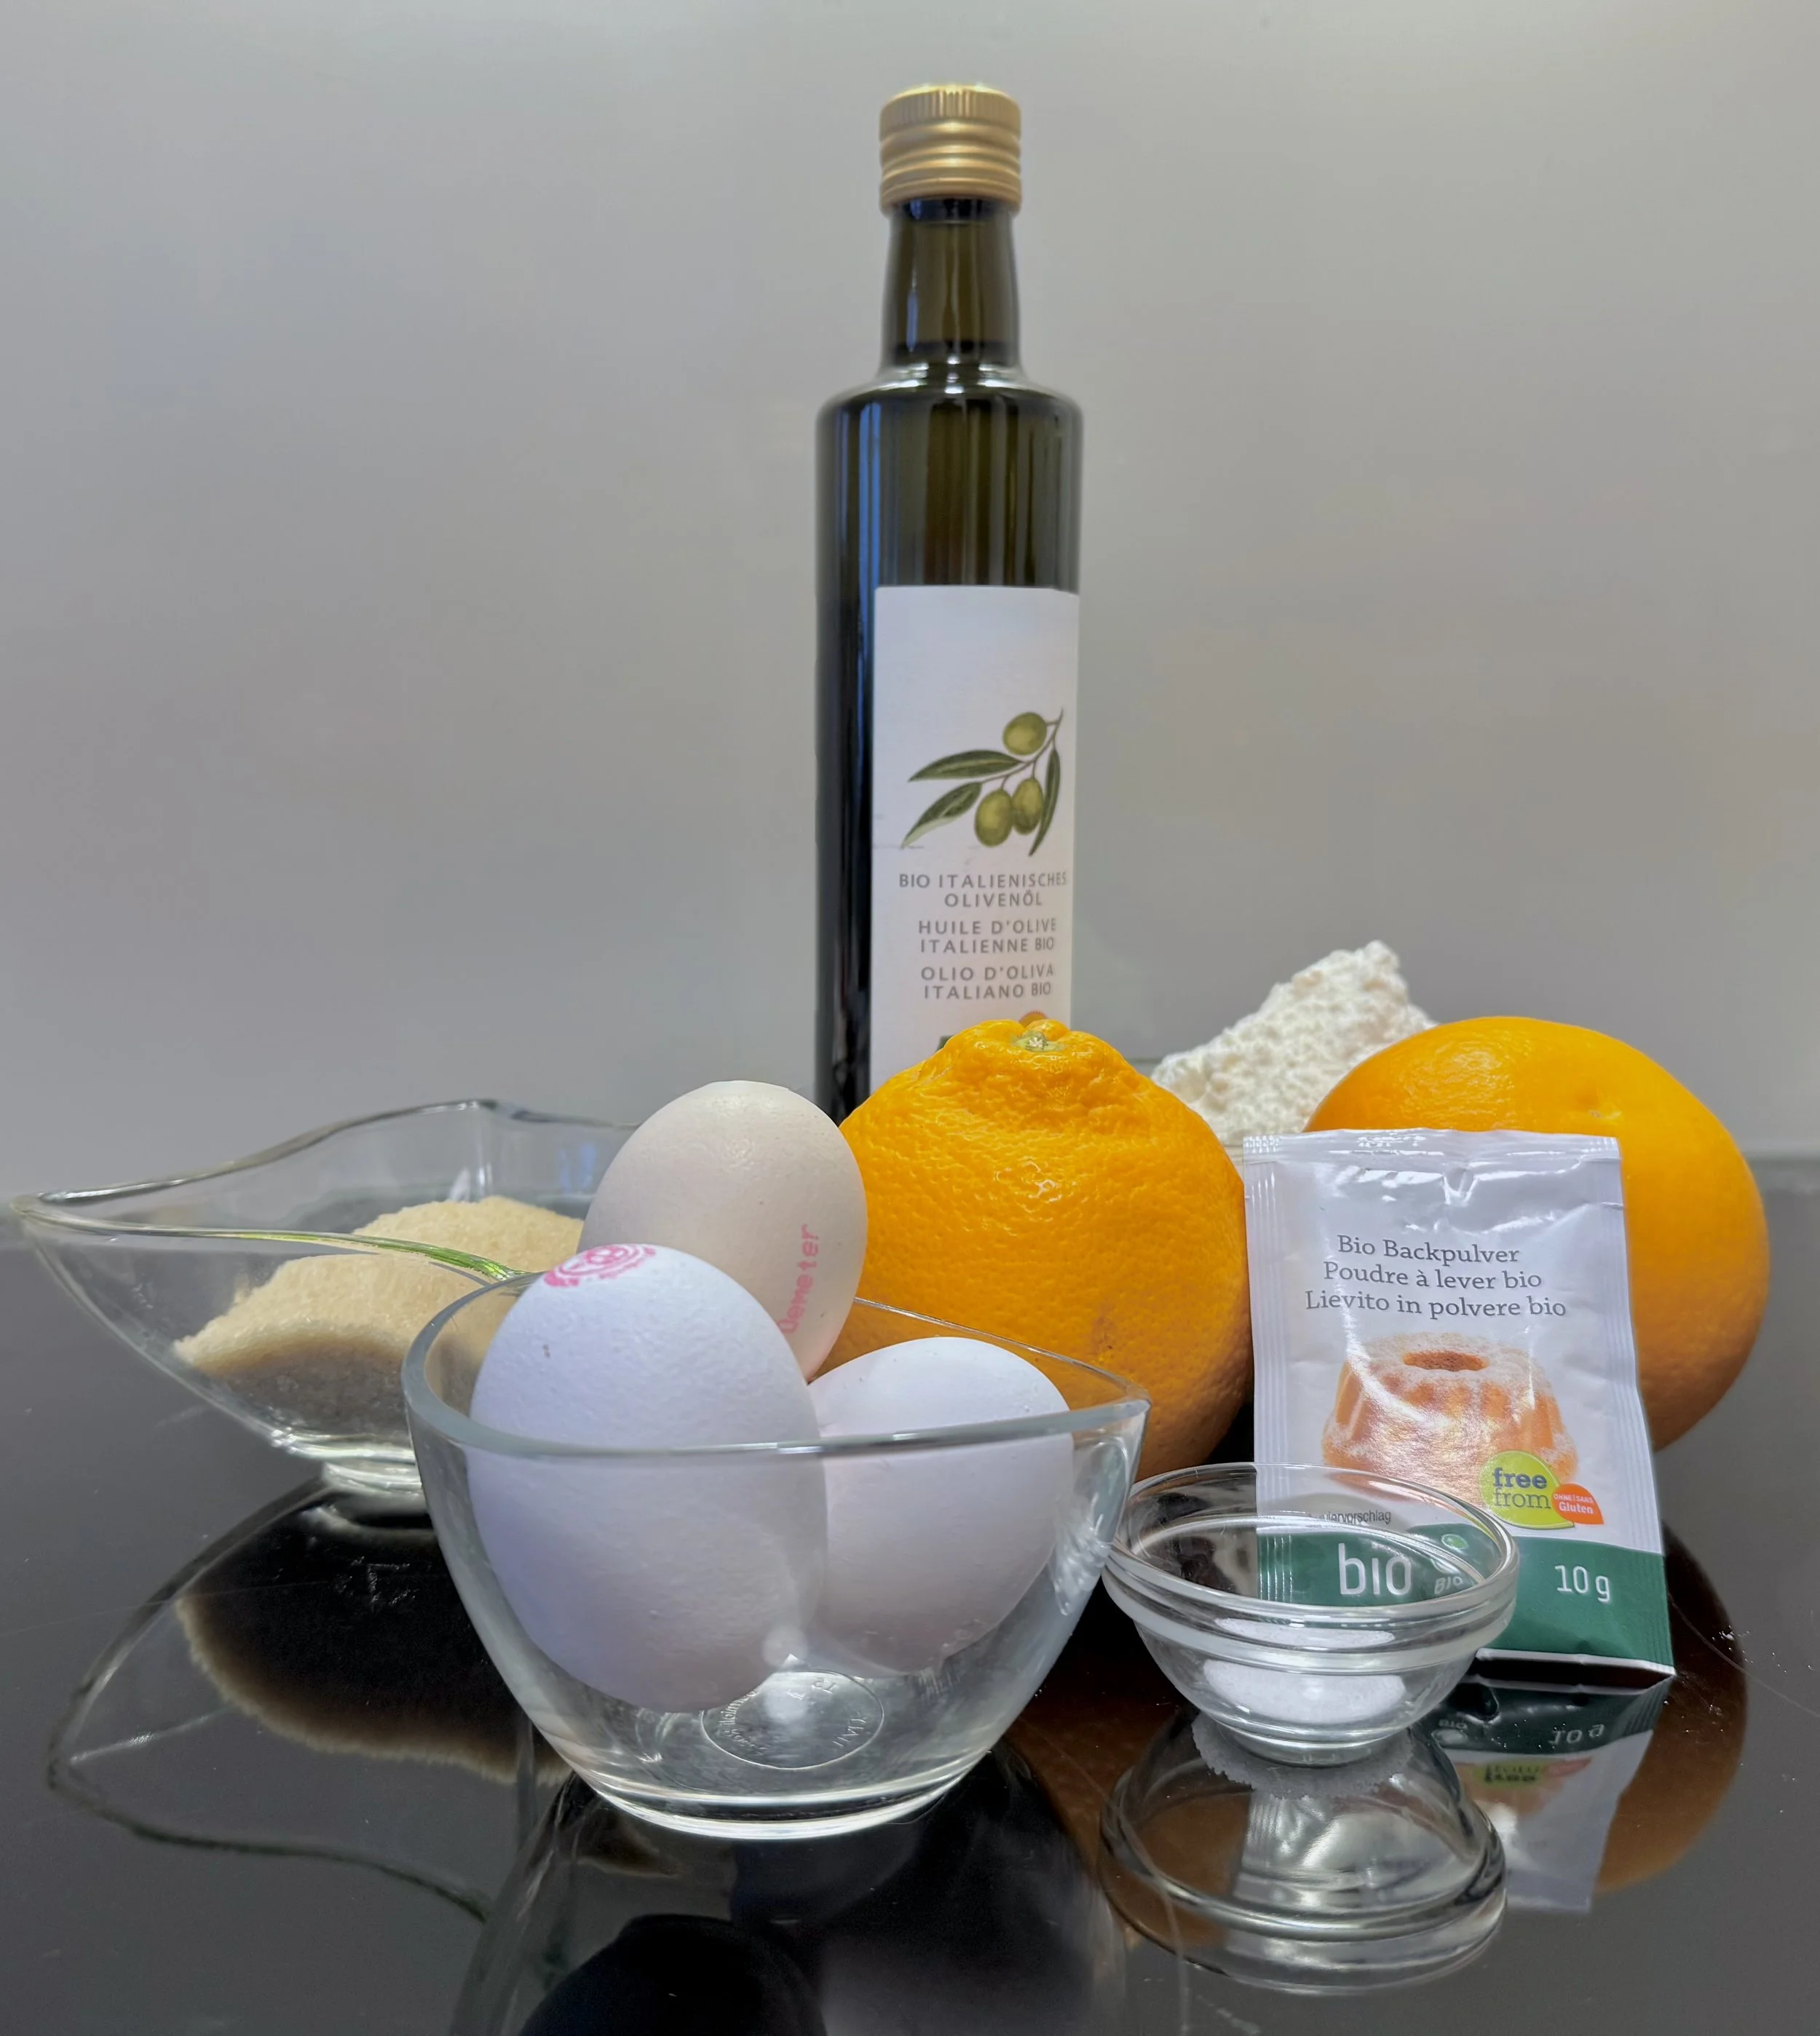
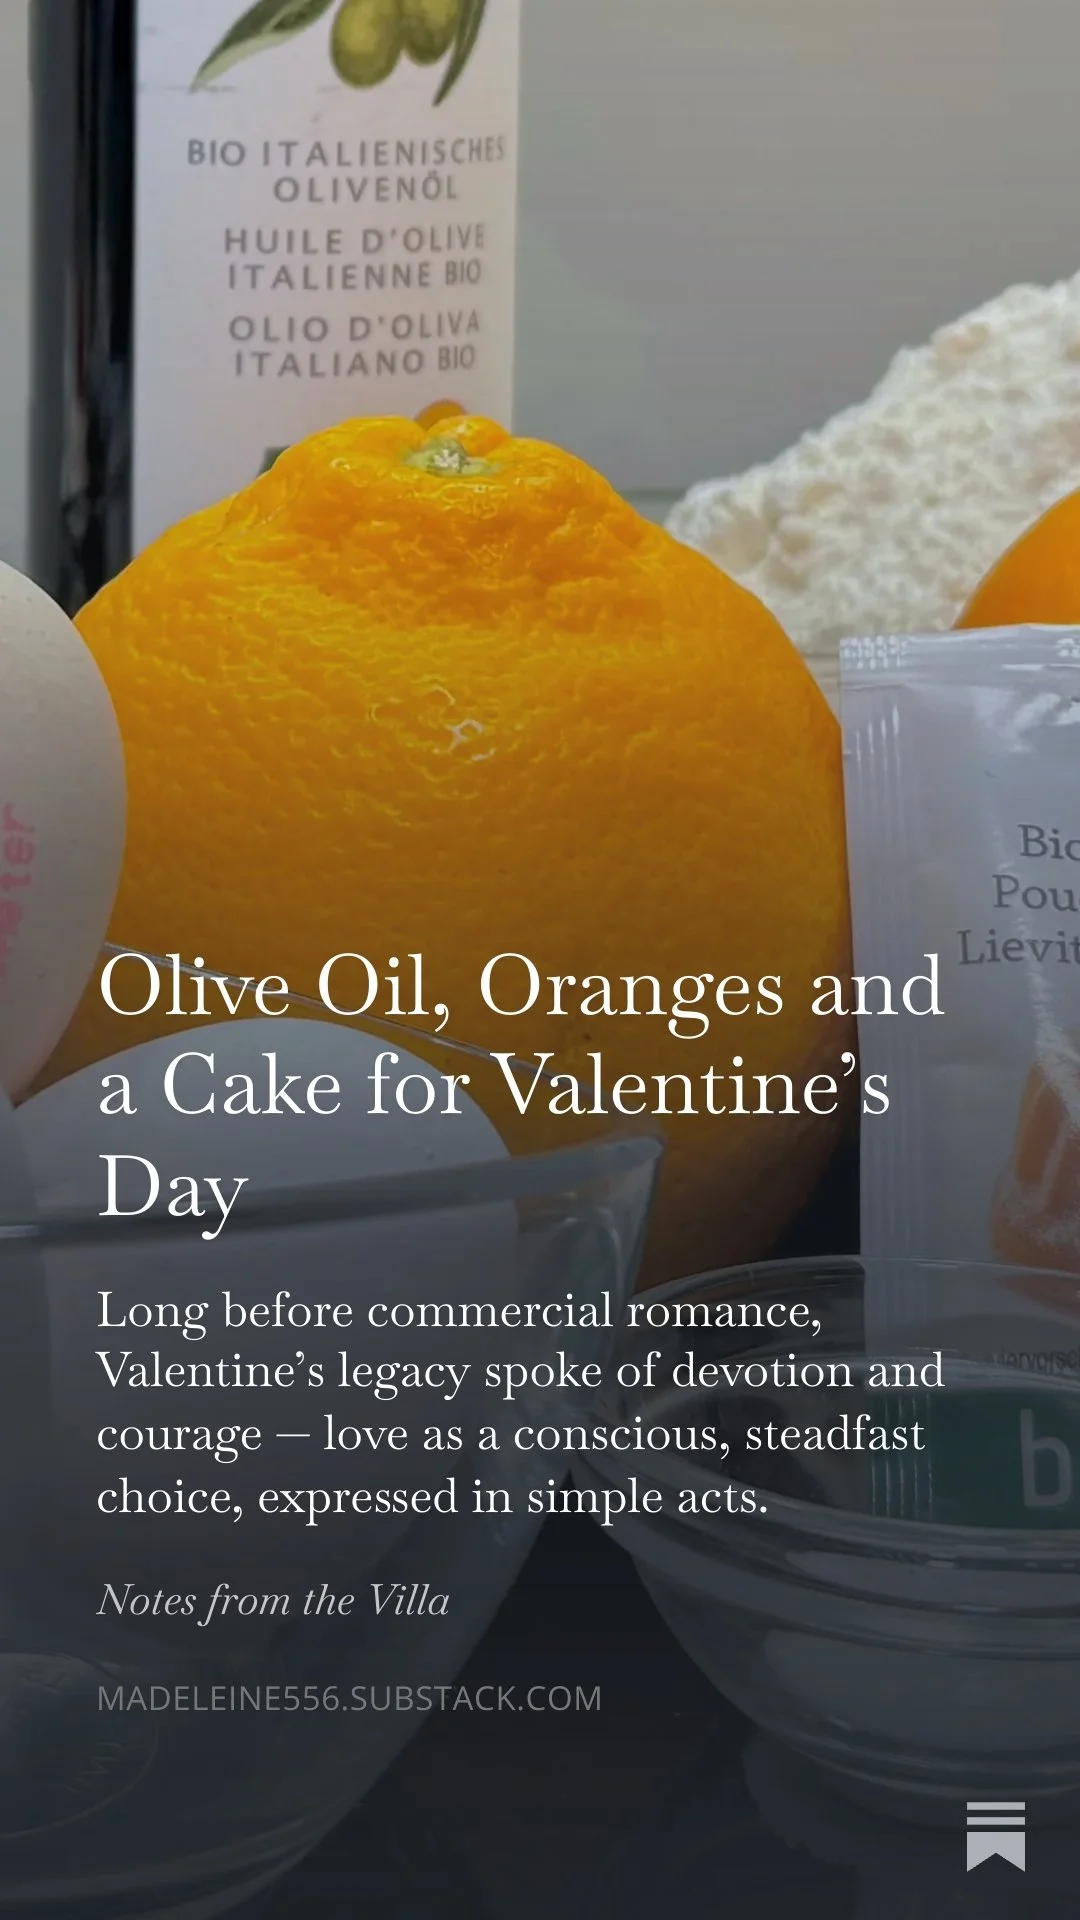
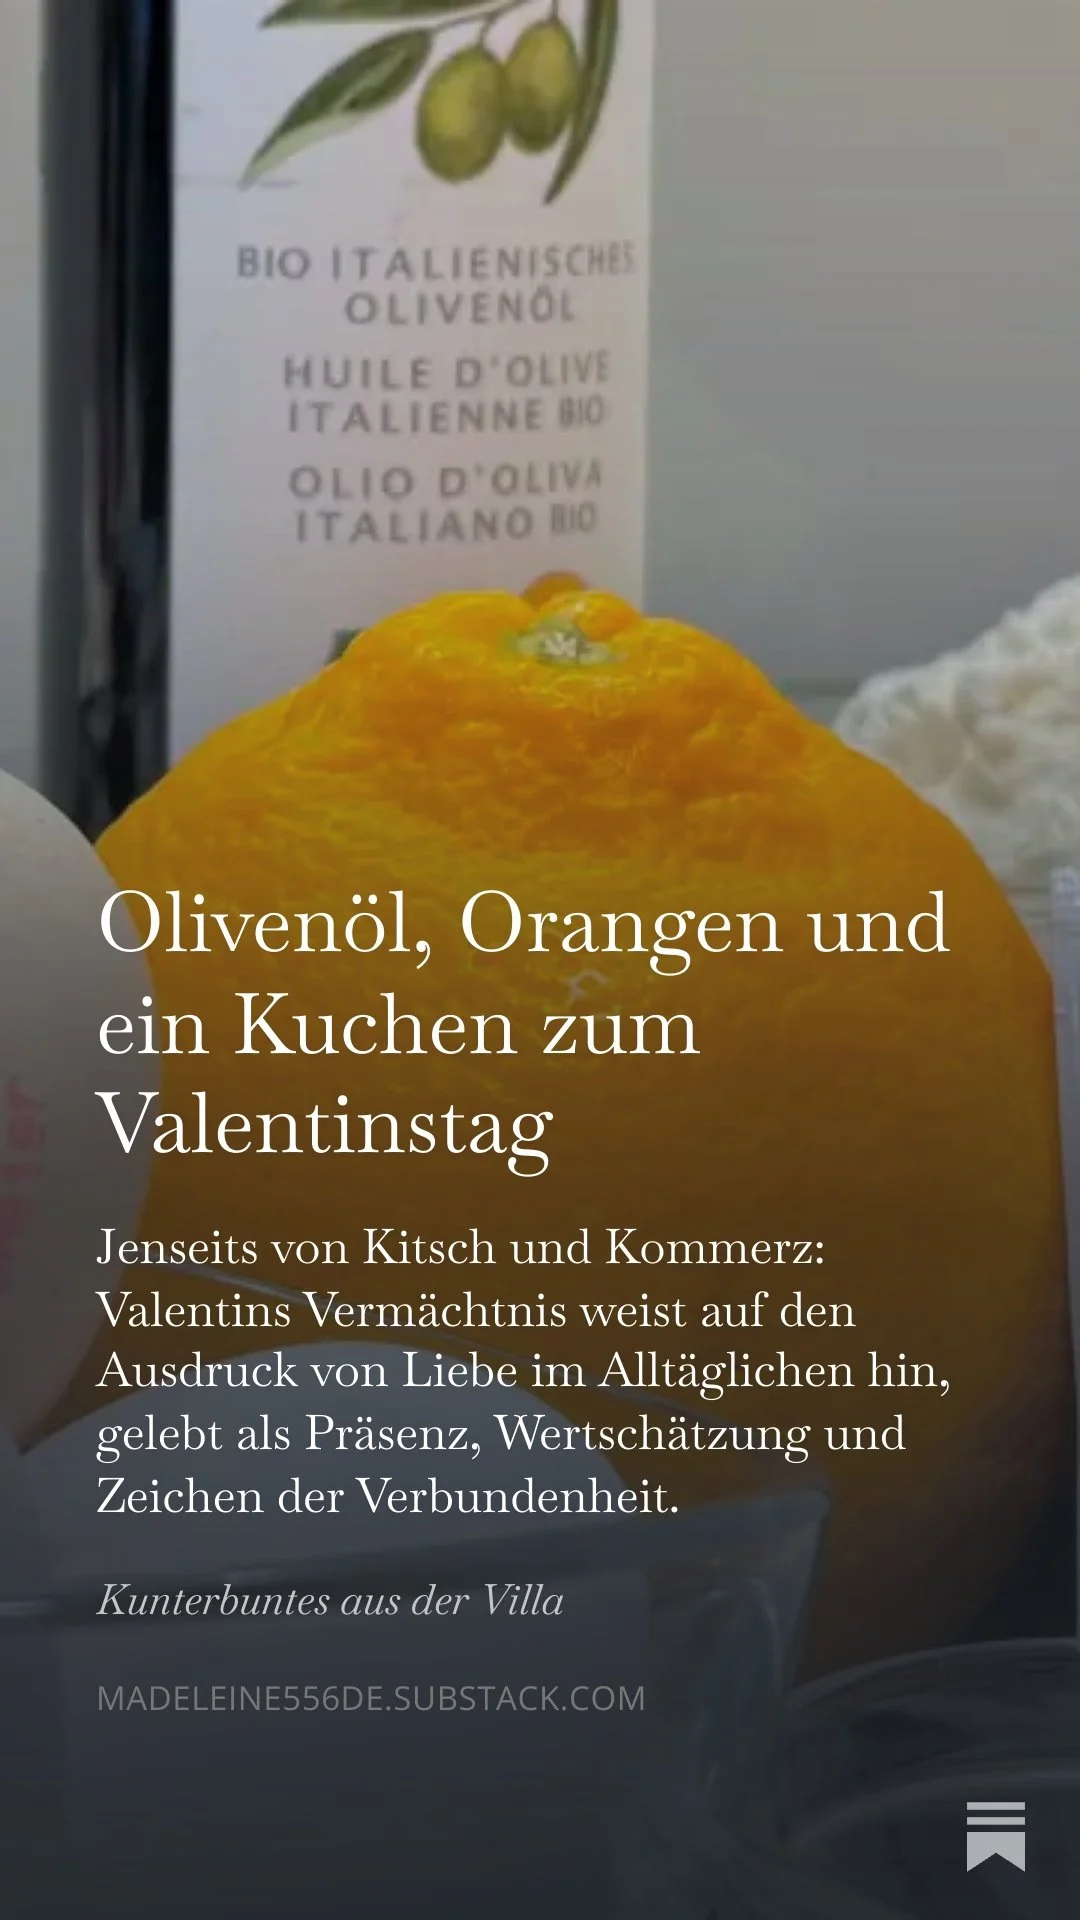
Olive Oil, Oranges and a Cake for Valentine’s Day
This piece grew out of lived experience rather than theory. At Villa Belvédère, we are less interested in teaching methods than in cultivating inner orientation. The world does not lack instructions — it lacks trust in one’s own perception, intuition, and creative agency.
As Valentine’s Day approaches, this piece turns toward love in its quieter forms — devotion, presence, and the beauty of small, intentional acts. Rooted in history and the Villa Belvédère kitchen, it unfolds through the symbolism of olive oil, oranges, and a simple cake baked with attention.
A reflection — and an invitation — to slow down, read on, and perhaps bake along.
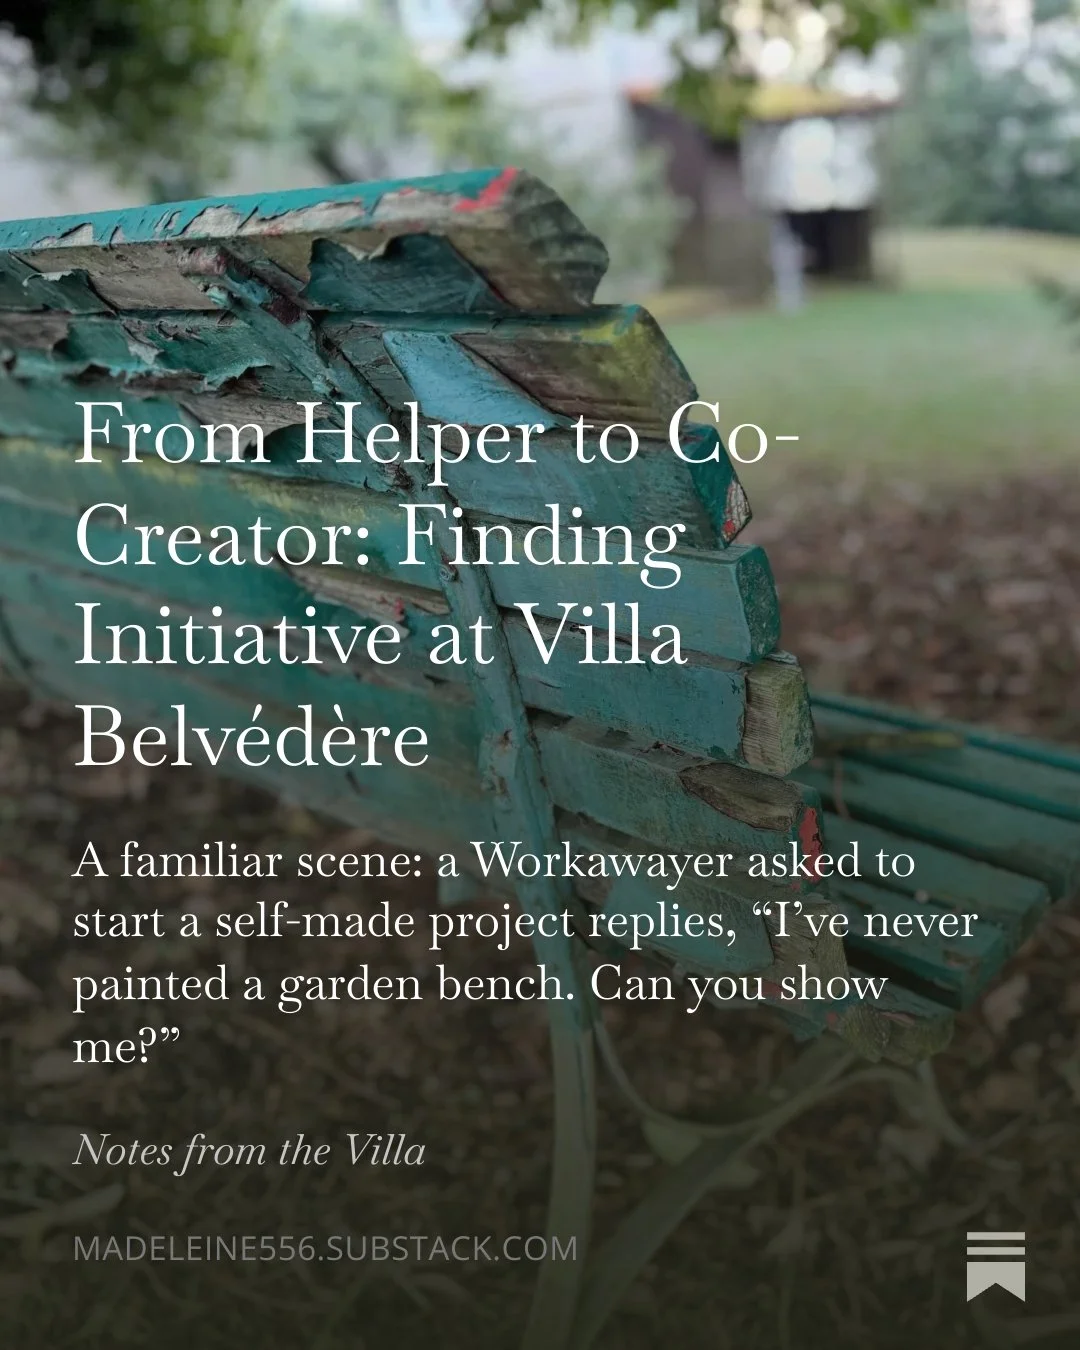
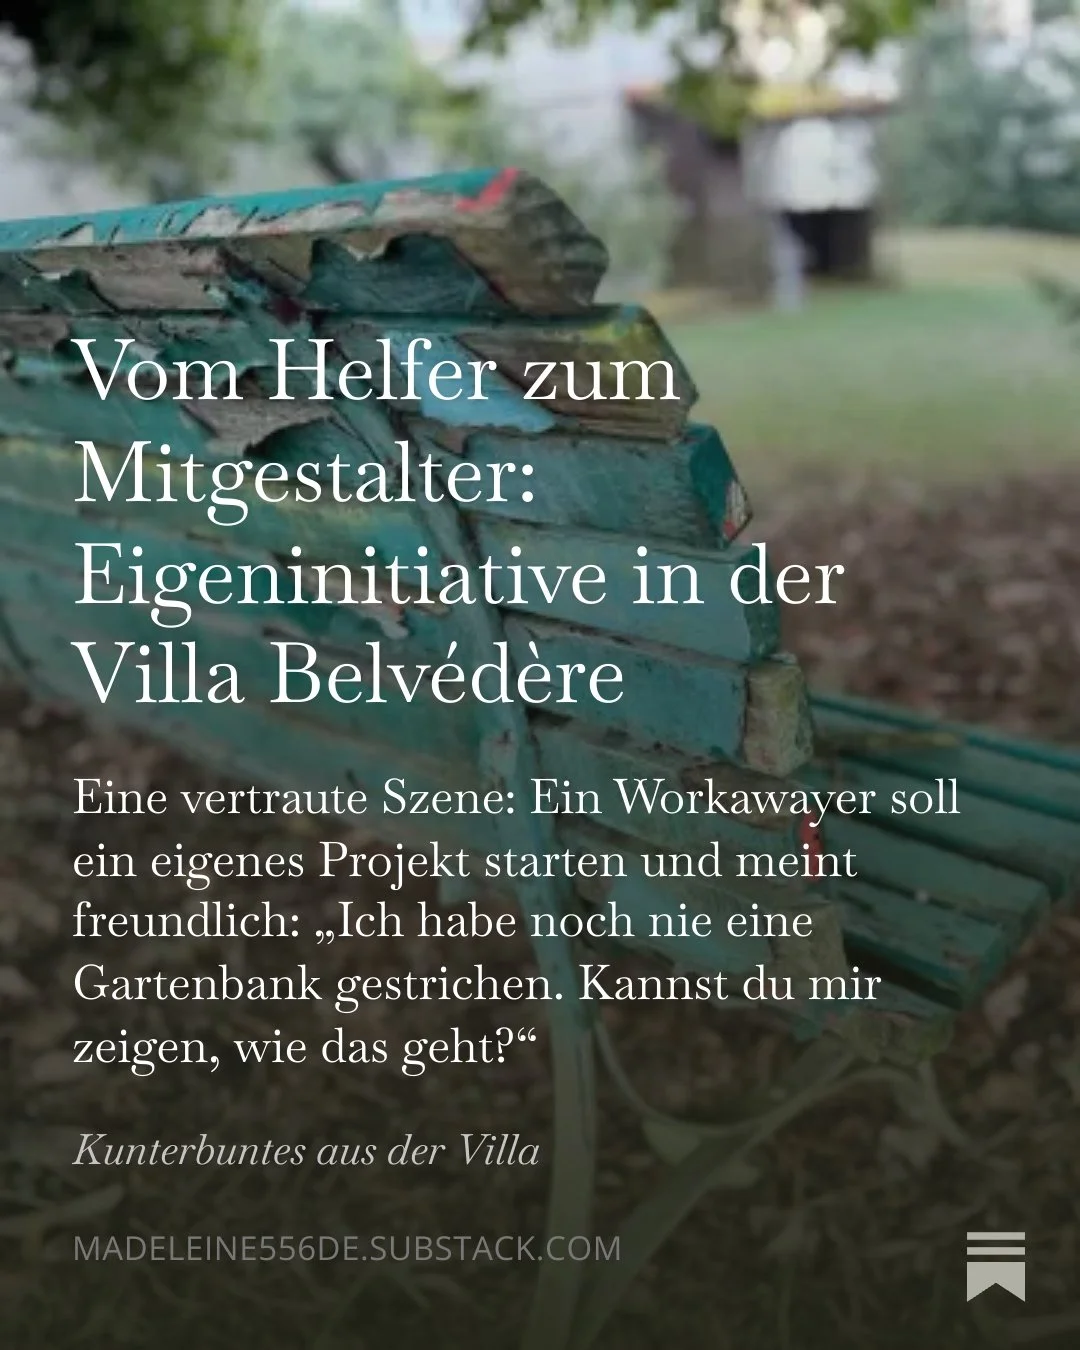
From Helper to Co-Creator: Finding Initiative at Villa Belvédère
This piece grew out of lived experience rather than theory. At Villa Belvédère, we are less interested in teaching methods than in cultivating inner orientation. The world does not lack instructions — it lacks trust in one’s own perception, intuition, and creative agency.
This piece grew out of lived experience rather than theory. At Villa Belvédère, we are less interested in teaching methods than in cultivating inner orientation. The world does not lack instructions — it lacks trust in one’s own perception, intuition, and creative agency.
What we explore here is a quiet but radical shift: from being shown what to do, to remembering that we already know how to begin. From helper to co-creator. From execution to authorship.
If this resonates, you are already part of the conversation.
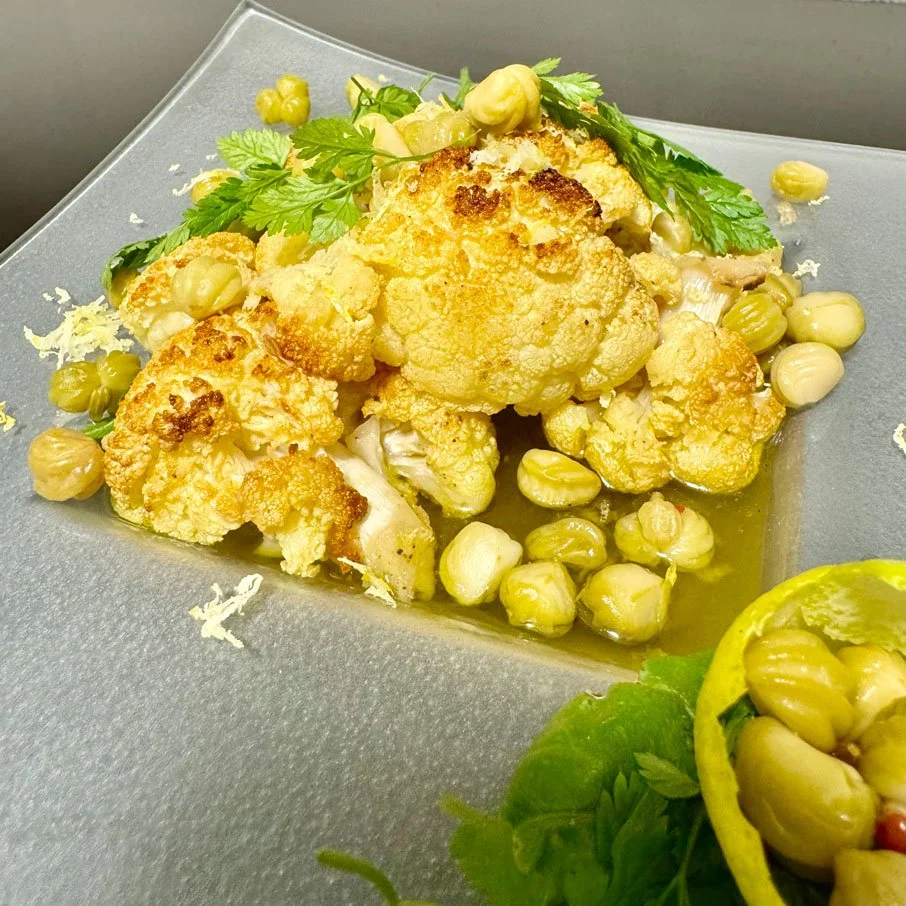
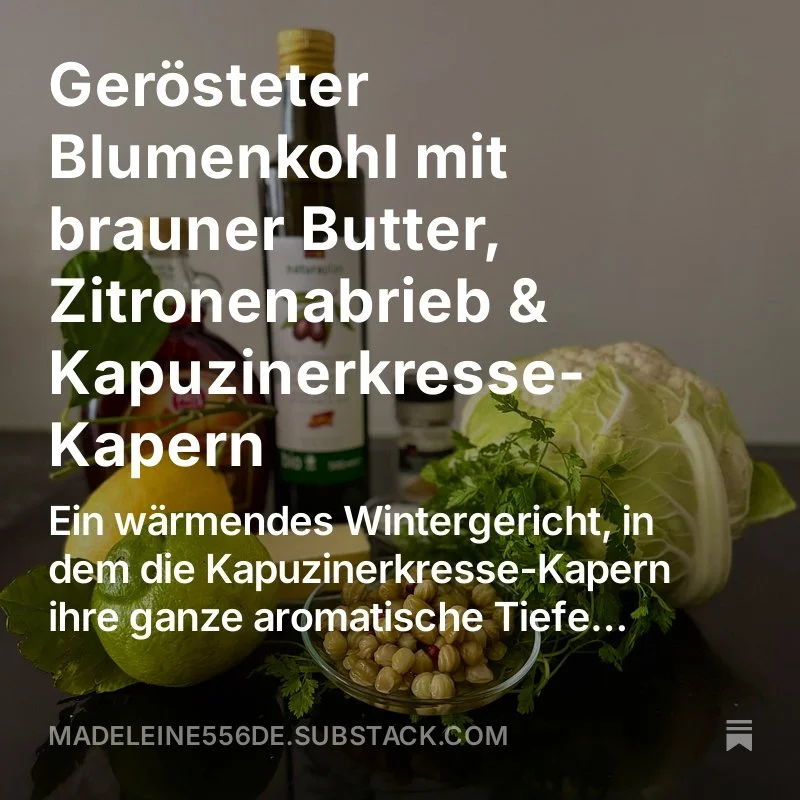
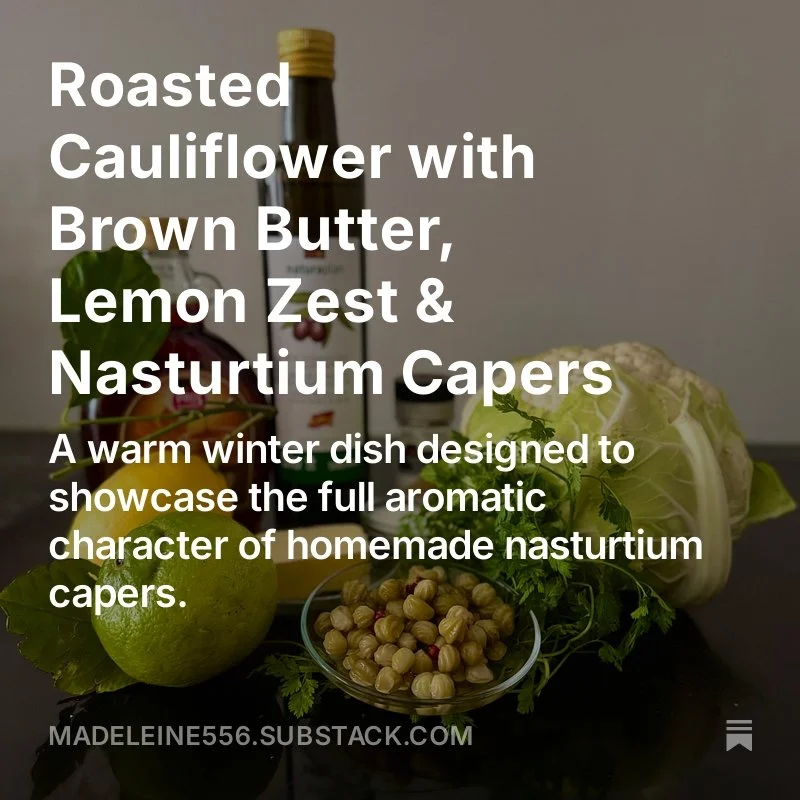
Roasted Cauliflower with Brown Butter, Lemon Zest & Nasturtium Capers
It all begins with an idea.
I have a new winter recipe for you — simple, warm, and full of quiet flavors. And my nasturtium capers finally get the spotlight they deserve. Plus a “how to” box to make your own. Join me if you’re curious!
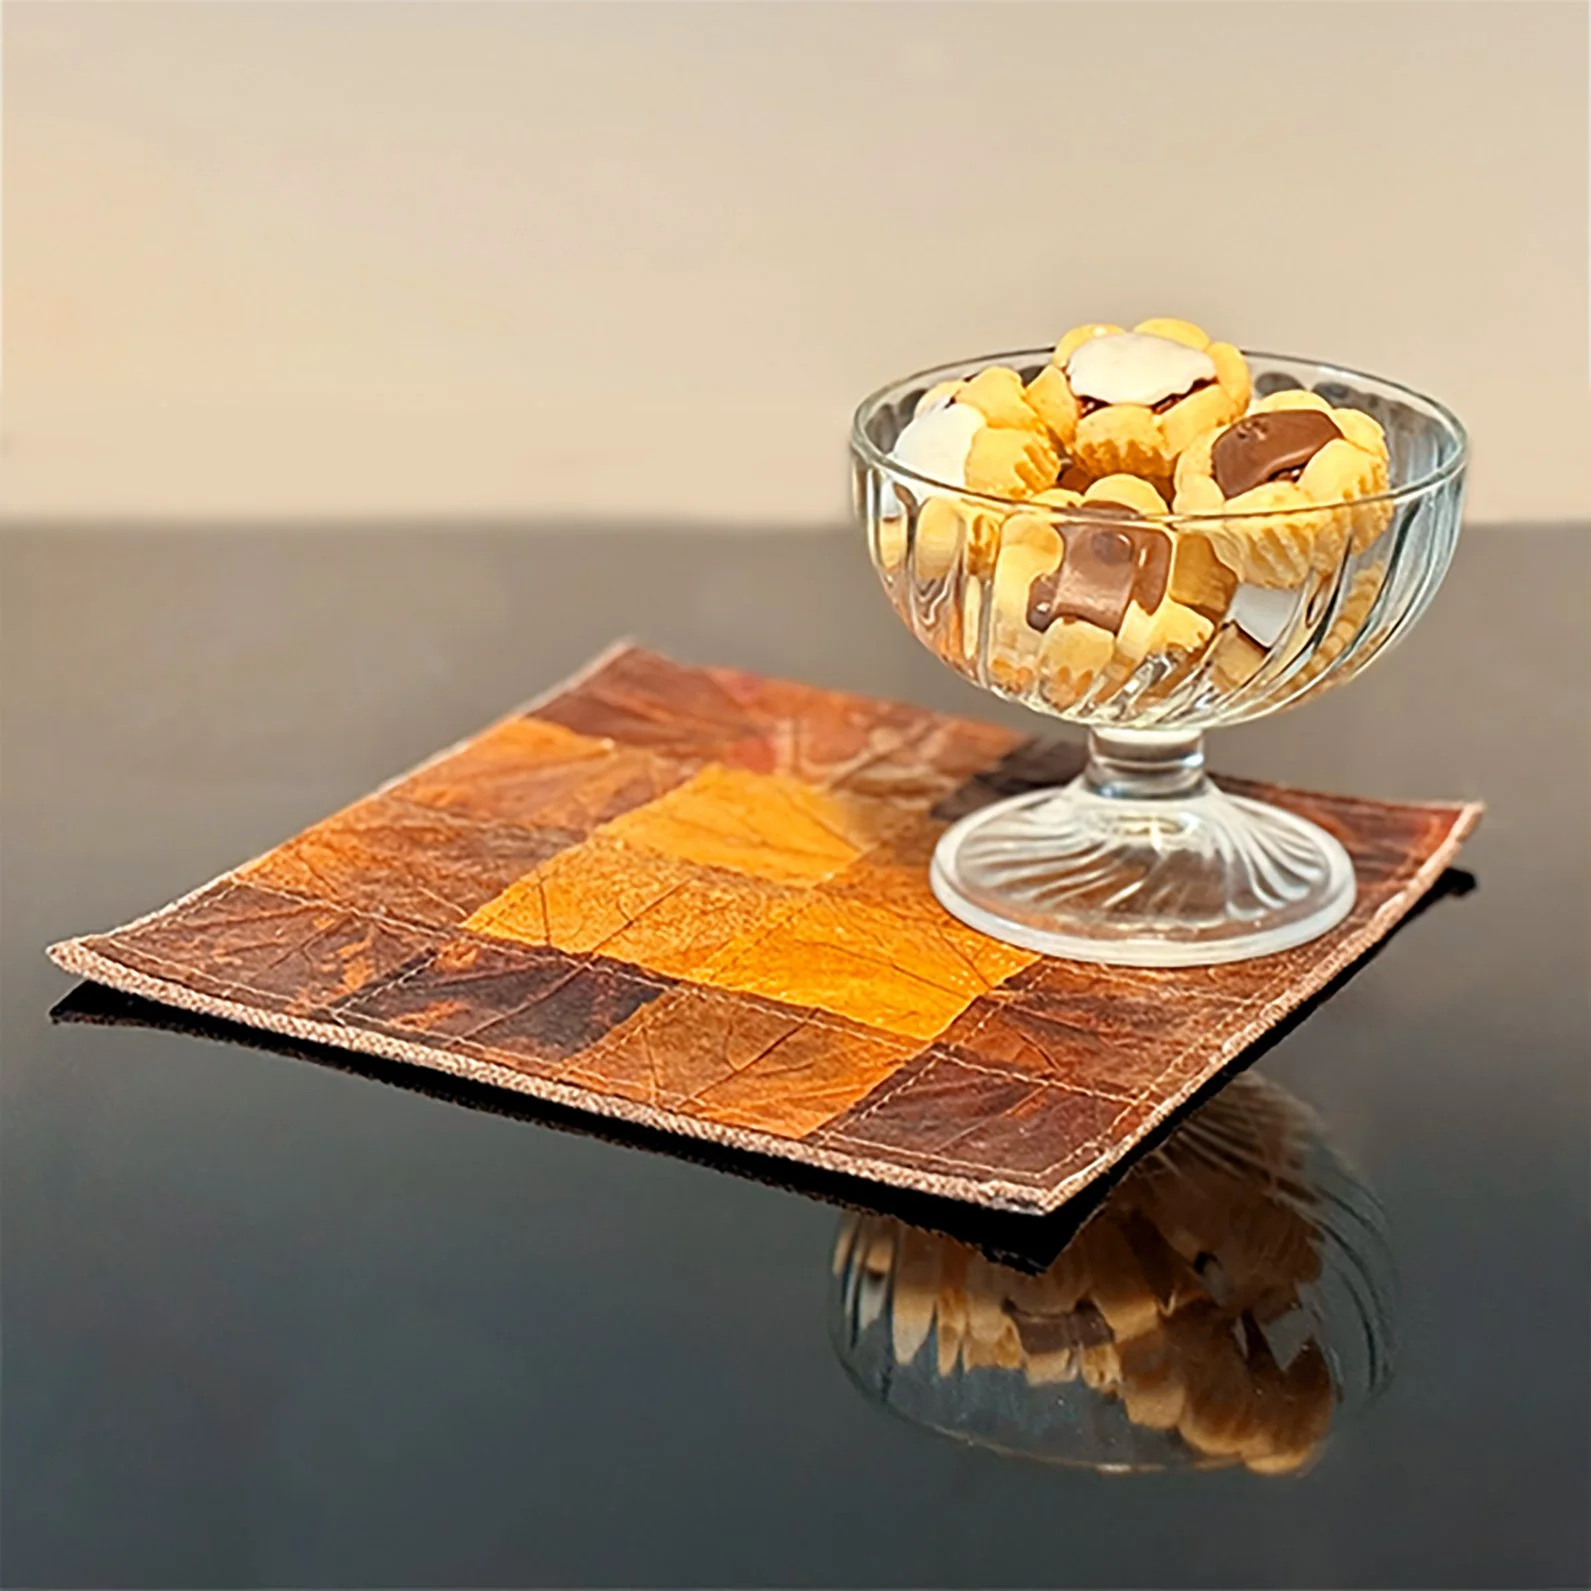
From the Villa’s crafting chest: a decorative mat from leaves
On my Substack Notes from the Villa, I’m sharing a small crafting project
Leaf-made decorative mats to bring a touch of autumnal flair into your home.
Autumn is slipping toward winter and most leaves have already settled on the ground. Many end up as mulch in the garden beds, but a few chosen ones get a different destiny. They become little decorative mats, or doilies, depending on your preferred vocabulary. Here’s how I make them…
From the Villa’s recipe book: Green Tomatillo Chutney
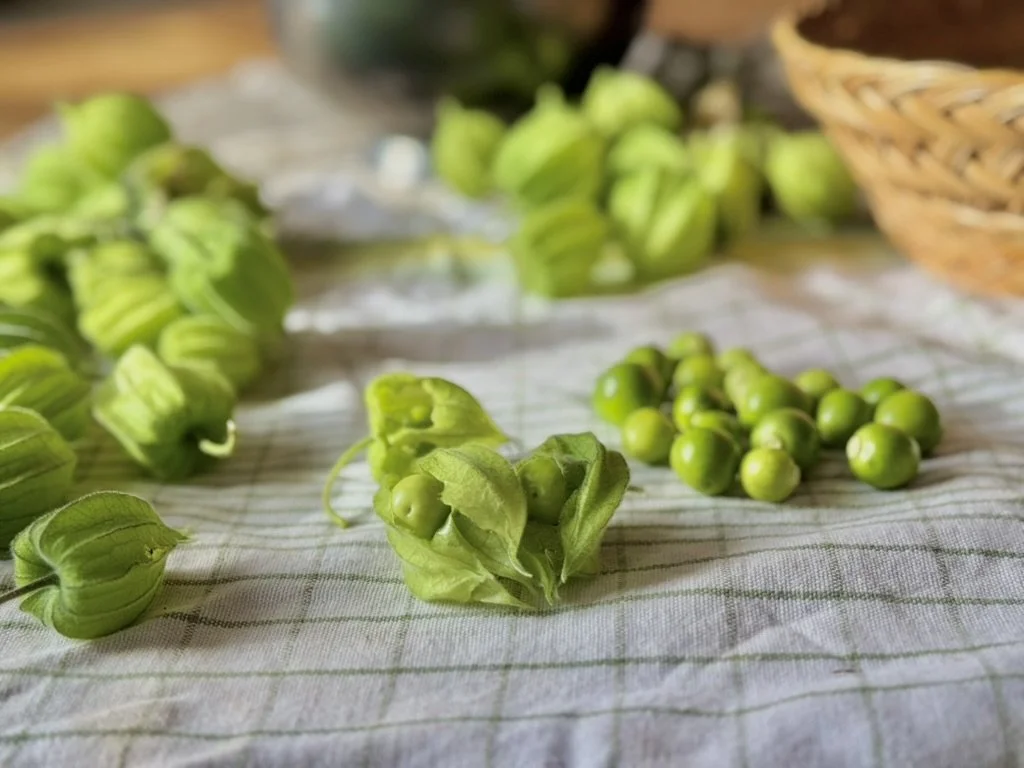
I spent the summer waiting for my tomatillos to turn orange — only to find out they never would. There are varieties that are supposed to be green!
No worries — tomatillo chutney to the rescue. Here’s how I made it:
Summer went by and I was still waiting for my tomatillos to turn orange — only to find out they never would.
They’re supposed to be green (at least the variety I got)!
No worries — tomatillo chutney to the rescue. Here’s how I made it:

Step 1: Tomatillo harvest
First, head into the garden and harvest your tomatillos.
(Alternatively, you can buy them — though here in Switzerland, you’ll mostly find the orange variety called Physalis, sold in quantities so tiny they’re hardly worth it.)
Despite being November, the plants are still full of surprises… can you spot the blossoms?
Step 2: Preparation
Remove the papery husks from the tomatillos.
Tomatillos naturally come wrapped in these thin, lantern-like shells, which dry as the fruit matures. Once peeled, the berries may feel slightly sticky — that’s normal. Give them a quick rinse before using.

Step 3: Ingredients
Tomatillos
About the same amount of apples for body and sweetness (I used one)
½ onion
Fresh ginger (about a 3 cm piece)
Green chili (I used pimientos verdes, which are mild)
A few garlic cloves (I used 3)
A splash of apple vinegar
A pinch of salt
Date syrup (or brown sugar)
Spices to taste — whatever tickles your taste buds: cumin, mustard seeds, green pepper, coriander, cinnamon (I used green pepper and cinnamon)

Step 4: Let it Simmer
Finely grate the ginger and garlic, then add all the other roughly chopped ingredients to a pan.
Simmer gently until the mixture becomes thick and glossy.
(The photo shows the very beginning of the process, so don’t use it as a reference for the final texture.)
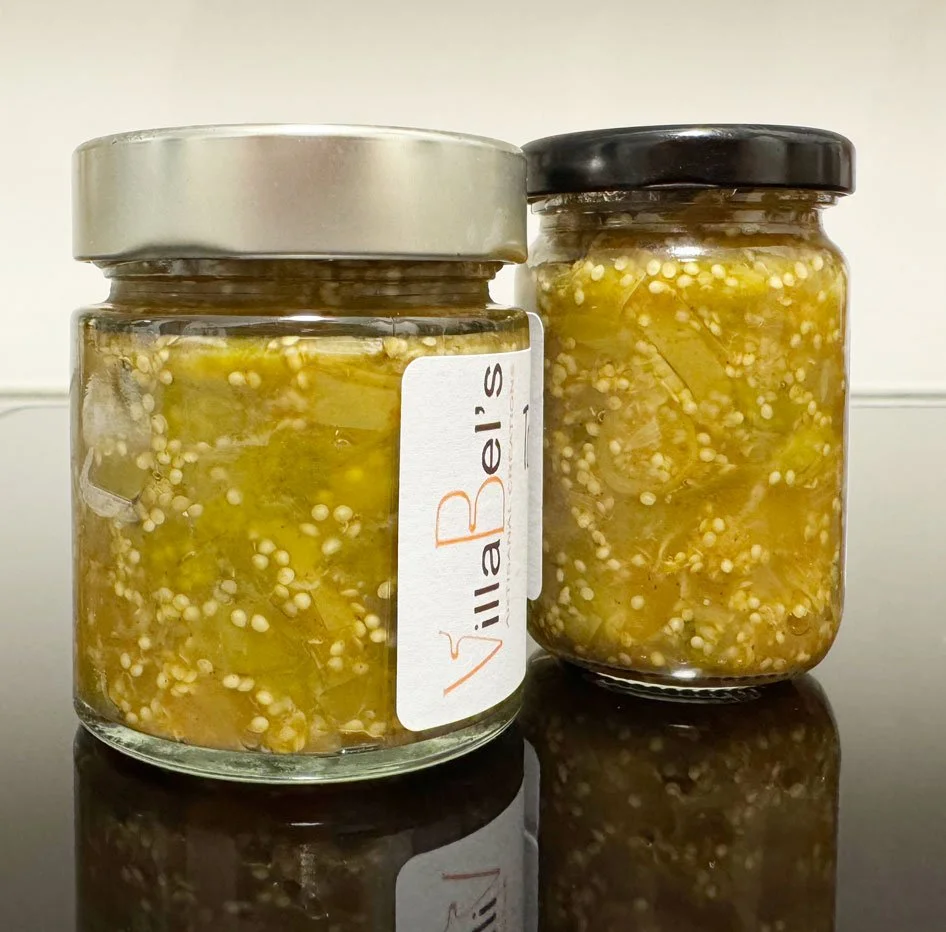
Step 5: Fill and seal
Sterilize your jars and fill them with the hot chutney. Close the lids right away and allow the jars to cool.

Step 6: Enjoy!
I paired the chutney with a simple dish – oven-roasted eggplants – to let its bright flavour take center stage:
Preheat the oven to 180 °C / 356 °F.
Slice one eggplant per person and brush generously with a marinade of olive oil, lemon juice, and soy sauce on both sides.
Roast for about 30 minutes on the middle rack (top and bottom heat). The eggplants are done when they turn soft and golden brown.
Success! The combination was absolutely delicious.
From My Kitchen to Yours: You’ve probably noticed that my measurements are a little… free-form.
There are two reasons for this. First, I tend to wing it when I cook, using whatever I have on hand – within reason, of course, unless I’m deliberately reinventing a recipe altogether. And second, I want to encourage you to do the same: adjust ingredients to your taste, play with flavours, and let the recipe become your own. If you like the result and want to reproduce exactly the same, you may write down the measurements. Or wing it again next time.